

The Ultimate Real Estate Photography Guide: Mastering the Art of Captivating Property Photos
Introduction
In the competitive world of real estate, first impressions are everything. Potential buyers will often make their decision based on the photos they see online before even stepping foot into a property. Therefore, high-quality real estate photography is critical for helping properties stand out in a crowded market. Whether you’re just starting out in real estate photography or looking to refine your skills, understanding both the technical and artistic aspects of photography is essential for success.
In this guide, we’ll dive deep into the essential steps for capturing and editing stunning real estate photos. From preparation and composition to the final edits that make your photos pop, you’ll walk away with a wealth of knowledge that will help you deliver exceptional results every time.
1. Getting Ready: Preparation is Half the Battle

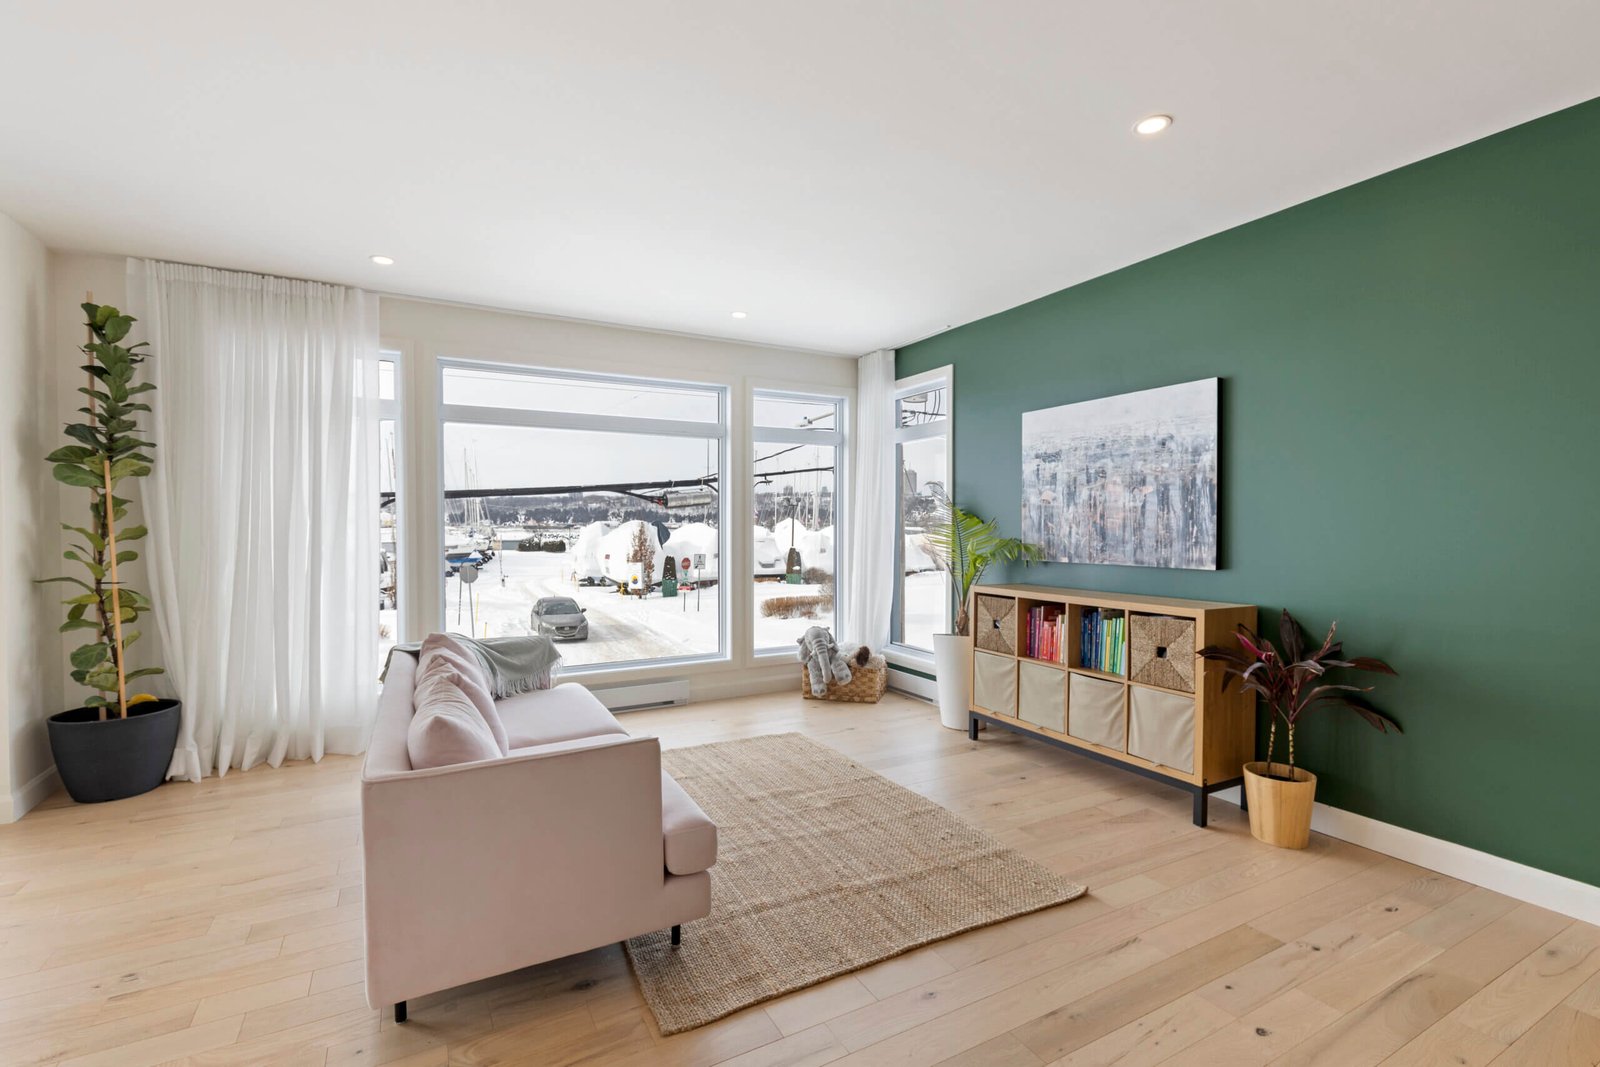
Real Estate Photography
Before you even turn on your camera, proper preparation is crucial. A little extra time spent preparing can lead to drastically better photos, reducing the amount of work you need to do during the editing process.
Steps for Successful Preparation:
- Scout the Property: Arrive early to assess the property. Walk through each room and find the most flattering angles. Take note of areas with challenging lighting (such as rooms with large windows or dark corners) that may need special attention during shooting.
- Declutter the Space: A clean and tidy space ensures that nothing distracts from the property’s features. Before you start shooting, ask the homeowner or agent to tidy up, or move things around yourself to create a more open, inviting atmosphere.
- Check the Lighting: Natural light is essential in real estate photography. Open all blinds and curtains to let in as much light as possible. If necessary, you can use supplementary lighting, like a flash or LED panels, to brighten darker areas, but always ensure the light looks natural.
- Time of Day: The golden hours—shortly after sunrise and just before sunset—offer soft, diffused light that can make your interior photos look warm and inviting. For exteriors, late afternoon sunlight can add depth and contrast, creating appealing exterior shots.
Pro Tip: Plan to shoot at different times of day for the best results. For example, you can shoot interiors during the day for natural light and exterior shots during the late afternoon or early evening for dramatic, golden hour effects.
2. Mastering Composition: Creating a Balanced and Engaging Image
When it comes to real estate photography, composition is everything. A well-composed image not only looks more professional but also enhances the feeling of space, guiding the viewer’s eye to the most important elements of the property.
Key Composition Tips:
- The Rule of Thirds: Imagine your image divided into a 3×3 grid. By positioning the main elements of your scene along these lines or at their intersections (for example, a bed in a bedroom or a fireplace in the living room), you create a more balanced and visually appealing composition.
- Use Leading Lines: Lines from doorways, hallways, or even furniture can lead the viewer’s eye through the image, making the space feel larger and more inviting. Leading lines create a sense of depth and guide the viewer’s gaze toward the focal points of the image.
- Symmetry and Framing: Many architectural elements, like windows or doorways, lend themselves well to symmetry. Make sure that these elements are centered and aligned properly in the frame. Symmetrical images often feel more stable and harmonious, which is especially important when photographing interiors.
- Shoot from Eye-Level: Avoid shooting from too high or too low, as this can distort the proportions of the room. Aim for a natural, eye-level perspective that feels familiar and inviting to potential buyers.
Pro Tip: Shoot wide-angle, but not too wide. While a wide-angle lens is essential for capturing smaller rooms or entire spaces, using an ultra-wide lens can cause distortion, making rooms look uncomfortably stretched or unnatural. A 16-35mm lens is a great balance for interior photography.
3. Lighting: The Heart of Real Estate Photography

Real Estate Photography
Lighting is arguably the most important aspect of real estate photography. Without the right lighting, even the most beautiful home can look flat and uninviting. Understanding how to balance natural and artificial light will give your photos depth, warmth, and clarity.
Lighting Tips for Stunning Property Photos:
- Avoid Harsh Shadows: Try to shoot during the day when natural light is abundant. Use light to fill shadows in rooms, ensuring that darker areas are properly exposed. Pay attention to large windows, which can sometimes create very bright areas in the photo, while leaving the rest of the room too dark.
- Use HDR (High Dynamic Range) for Challenging Lighting: HDR is perfect for shots where you have bright windows and darker interiors. By capturing multiple exposures and combining them in post-processing, HDR allows you to retain both the details outside and inside.
- Bounce or Diffuse Light: If you need to use artificial lighting, avoid direct flash. Instead, use a bounce flash or softboxes to diffuse the light, which will give you softer, more natural lighting. Alternatively, reflect light off a wall or ceiling to gently brighten the room.
- White Balance: Make sure your photos have accurate color tones. If your images have a yellow or orange tint due to indoor lighting, adjust the white balance settings to ensure neutral, natural colors.
Pro Tip: If shooting at night, you can enhance the warmth of the property by using warm light sources like lamps or ceiling lights. This can add a cozy atmosphere to your photos, especially for living rooms and bedrooms.
4. Post-Processing: Enhancing Your Photos with Editing Software
After capturing the perfect shot, post-processing is your opportunity to polish your images and take them to the next level. Editing will allow you to adjust exposure, color, contrast, and sharpness, ensuring the final images are as captivating as the property itself.
Editing Tips for Real Estate Photography:
- Correct Exposure: Use software like Adobe Lightroom or Photoshop to adjust exposure levels. Ensure that bright areas (like windows) are not overexposed, and that dark areas have enough detail. You can also balance shadows and highlights to make the image look more dynamic.
- Straighten the Lines: Real estate photography should have straight lines—especially when it comes to walls, doors, and windows. Use Lightroom’s “Transform” tool to straighten lines and correct any lens distortion.
- Enhance the Colors: Make your photos pop by adjusting vibrance and saturation. Be careful not to over-saturate, as this can make the photo look unrealistic. Increase vibrance to bring out subtle colors without affecting already-saturated areas.
- Sharpening and Noise Reduction: Make sure the image is crisp and clear by applying sharpening where necessary. At the same time, reduce noise (especially in low-light images) to avoid grainy results.
- Resize and Optimize for Web: Once your images are edited, export them at a resolution suitable for online listings. Generally, 72 DPI with dimensions optimized for website display is sufficient. Make sure your file sizes are not too large, as this can slow down page load times.
Pro Tip: If you’re unfamiliar with editing, consider hiring a professional editor to fine-tune your images. This allows you to focus on the photography aspect, knowing that your images will always be polished to perfection.
5. Final Thoughts: Why Professional Real Estate Photography Matters
In the digital age, your photos are often the first thing potential buyers see when looking at a property. Good real estate photography can help create an emotional connection, making buyers feel like they can see themselves living in that space.
By mastering the technical aspects of photography, composition, lighting, and post-processing, you’ll be able to capture and present properties in their best light, leading to faster sales and happier clients. The investment in quality real estate photography pays off by helping properties sell faster and for a better price.
If you’re a real estate photographer looking to level up your skills and produce stunning photos that stand out in the market, consider working with a professional photo editing service or investing in more advanced equipment. Don’t hesitate to reach out to me if you need guidance, support, or expert photo editing services to make your photos truly shine!
Contact me for the best real estate photo editing service.


