

Mastering Real Estate Photo Editing: A Comprehensive Guide for Photographers
Introduction
In the world of real estate photography, the importance of high-quality, visually appealing photos cannot be overstated. In fact, studies have shown that listings with professional photos sell 32% faster than those without. As a real estate photographer, your job doesn’t end once you’ve clicked the shutter; in fact, the most impactful part of your work happens in the editing room. Proper editing can transform a simple photo into a captivating image that attracts potential buyers and showcases a property in its best light.
In this guide, we’ll dive into essential real estate photo editing tips and techniques that will help you enhance your photos, improve their visual appeal, and ultimately make them more marketable. Whether you’re looking to improve your editing workflow or make your images stand out on listings, this comprehensive guide has you covered.
1. The Importance of Editing in Real Estate Photography
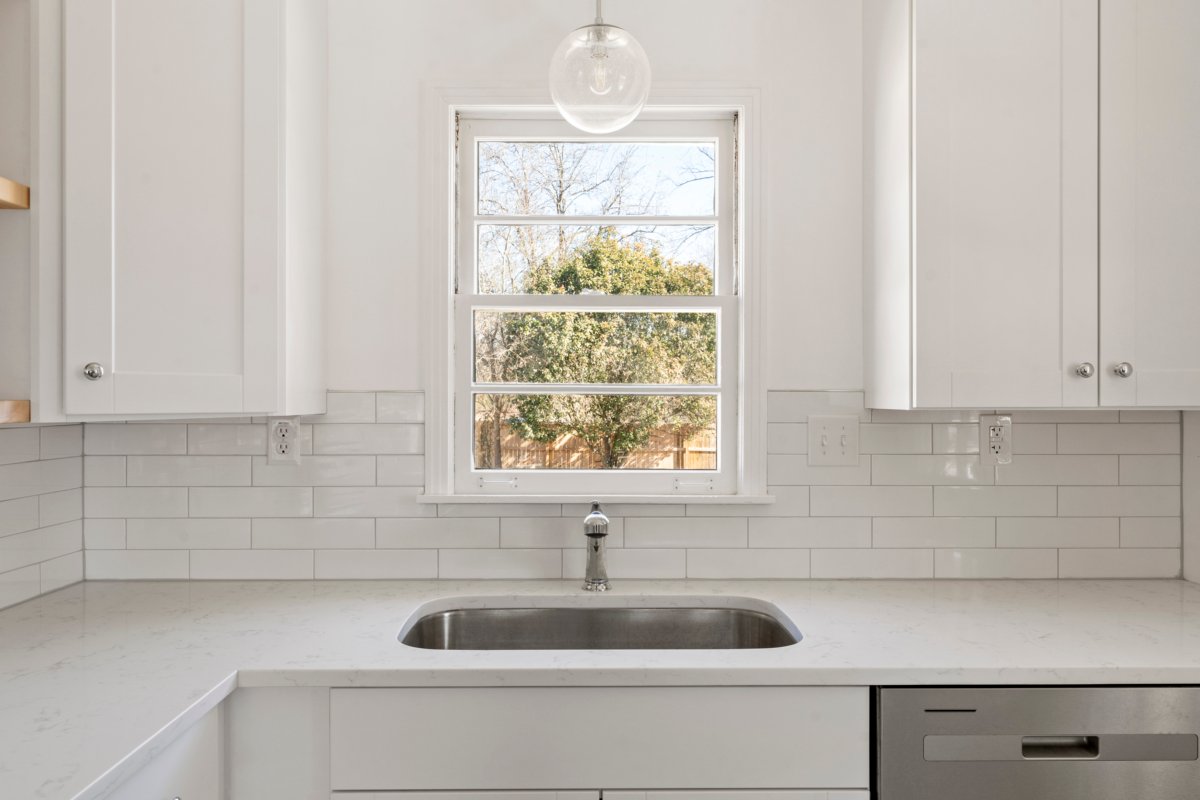
Real Estate Photo Editing
Why Editing is Crucial
Real estate photography isn’t just about taking photos; it’s about telling a story. Buyers rely heavily on online images when searching for properties, and it’s your job as a photographer to ensure that these images make the property look inviting, professional, and desirable. Proper editing helps bring out the details that may be missed during the initial shot, balances lighting, enhances colors, and straightens lines—all factors that contribute to a more polished, attractive image.
The power of editing is undeniable. It can take an average photo and make it extraordinary, helping you create a strong emotional connection with potential buyers. The goal is to highlight the property’s best features and create a visually stunning portfolio for your clients.
2. Exposure and Lighting: The Cornerstones of Real Estate Photography
How Exposure Affects Your Photos
When editing real estate photos, exposure is one of the first things to address. Exposure refers to the overall brightness or darkness of an image and plays a key role in creating the right mood and clarity. In real estate photography, achieving the right exposure is critical because it determines how visible the important features of the property are.
In some cases, you may capture a property image that looks either too dark or too bright. This can be due to inconsistent lighting, reflections from windows, or shadows in certain areas of the room. Editing exposure allows you to correct these issues.
Adjusting Exposure and Lighting:
- Increase Exposure: If the image is too dark, you can adjust the exposure to brighten the photo. Be cautious, though—too much brightness can lead to overexposure, washing out details.
- Fixing Highlights and Shadows: Adjusting the “Highlights” slider will help recover overexposed areas like windows, while adjusting the “Shadows” slider can help lighten up dark corners or rooms with limited lighting.
- White Balance: White balance is crucial to making sure your photo doesn’t have a color cast. Adjust the “Temperature” and “Tint” sliders to make sure whites look truly white, and that the overall color temperature is accurate.
Pro Tip: Use bracketing (taking multiple photos with different exposures) and blend them in post-processing for perfectly balanced images. This technique is particularly useful when shooting interiors with varying light levels, like bright windows and darker rooms.
3. Correcting Lens Distortion and Straightening Lines
Fixing Distortion
Wide-angle lenses are often used in real estate photography to capture more of the room in a single shot. However, these lenses can create unwanted distortion, especially around the edges of the photo, which can make straight lines appear curved or skewed. This is commonly referred to as barrel distortion. Fortunately, most modern photo editing software has tools to correct lens distortion, which can help restore the natural appearance of the room.
How to Correct Distortion:
- Lens Correction Tools: Lightroom and Photoshop both offer automatic lens correction tools that detect distortion based on your lens and camera settings. Use these tools to eliminate any unwanted curvature or perspective issues.
- Straighten Vertical and Horizontal Lines: Another common issue in real estate photography is slanted vertical and horizontal lines. In Lightroom, use the “Transform” panel to adjust the perspective of the image. The “Guided Upright” tool helps you align vertical lines perfectly, ensuring that walls and door frames appear straight.
Pro Tip: When straightening lines, avoid over-correcting, as this can introduce other distortion, especially in the edges of the frame.
4. Color Enhancement: Bringing Your Photos to Life
The Power of Color in Real Estate Photos
Colors can have a significant impact on the mood of a photograph. Real estate photos need to look inviting and warm, but not artificially saturated. The right color adjustments can make your images pop without going overboard. Subtle tweaks can help the image feel more lively and vibrant, while still maintaining a natural look.
Color Editing Tips:
- Vibrance and Saturation: Increasing the vibrance will make muted colors stand out without affecting already saturated areas. Saturation increases the intensity of all colors equally, so it should be used sparingly to avoid making the image look unnatural.
- HSL Adjustments: If specific colors in the image need adjustment, use the HSL (Hue, Saturation, and Luminance) panel. For example, enhancing the greens of plants or the blues in the sky can make the image look more vibrant and appealing.
- Selective Adjustments: Use local adjustment tools, like the brush or radial filter, to enhance certain areas of the photo. For instance, you can brighten up dark corners or add more warmth to the kitchen area to make it feel more inviting.
Pro Tip: Avoid overly bright or unnatural color schemes. Real estate photos should feel true to life to help buyers visualize themselves in the space.
5. Sharpening and Noise Reduction: Crisp Details and Clean Images
Real Estate Photo Editing
Why Sharpening and Noise Reduction Matter
Real estate photography should be sharp, clear, and crisp. Buyers want to see the fine details, such as the textures in the flooring, the stitching on the furniture, and the details in the walls. When editing your photos, it’s essential to apply sharpening to enhance these details.
However, low-light conditions or high ISO settings may introduce noise (grain) into your photos. Noise can reduce the overall quality of your image and make it look less professional. You can remove this noise through editing tools to restore clarity.
How to Sharpen and Reduce Noise:
- Sharpening: In Lightroom, increase the “Amount” slider under the “Detail” panel to sharpen your image. Be careful not to overdo it—too much sharpening can lead to unnatural-looking edges and halos around objects.
- Noise Reduction: If you notice any grain in the image, use the “Noise Reduction” slider to smooth it out. Start with the “Luminance” slider to remove grain, followed by the “Color” slider to reduce chromatic noise.
Pro Tip: Always check your image at 100% zoom when applying sharpening or noise reduction to ensure you’re not over-correcting.
6. Final Adjustments: Cropping, Exporting, and Optimizing for Web
Cropping for Composition and Focus
Cropping is an important step in real estate photo editing. It allows you to improve the composition of the image, eliminate distractions, and draw attention to the focal points of the property.
How to Crop Effectively:
- Use the Rule of Thirds: This photography principle helps create a balanced composition. Position the main elements of the image along the grid lines or where they intersect to create visual interest.
- Remove Unnecessary Elements: Eliminate distracting objects that may take attention away from the property’s best features.
Exporting and Optimizing for Web Use: When exporting your images for online listings, it’s important to optimize the file size without sacrificing quality. Large file sizes can slow down page load times, which can impact user experience and SEO.
Pro Tip: Export images at 72 DPI with the sRGB color profile for web use. This ensures consistency across different devices and platforms while keeping file sizes manageable.
Conclusion: Elevating Your Real Estate Photography through Editing
Editing is a crucial part of the real estate photography process. With the right techniques, you can transform a good photograph into an extraordinary one that captivates potential buyers and helps your clients sell properties faster. From adjusting exposure and lighting to correcting distortion and enhancing colors, mastering editing will set you apart from the competition and ensure your images stand out on listing sites.
As you continue refining your editing skills, you’ll be able to consistently produce stunning images that not only showcase the properties but also help tell a compelling visual story. Whether you’re new to real estate photography or a seasoned pro, the right editing tools and techniques are essential for success.
Looking for professional photo editing services to elevate your real estate photos? Contact me today, and let’s work together to make your listings shine with high-quality, expertly edited images!
Contact me for the best real estate photo editing service.


