

How to Take Beautiful Real Estate Photos with Your Smartphone: A Complete Guide
In the fast-paced real estate market, quality photos can make a significant difference in how quickly a property sells. While professional cameras can certainly deliver high-quality results, smartphones today are equipped with powerful cameras capable of taking stunning real estate photos. Whether you’re a real estate agent, photographer, or simply someone looking to showcase a property, learning how to capture beautiful images with your smartphone can help you save time and money. This guide will walk you through the best tips and techniques to take beautiful real estate photos using only your smartphone.
Why Smartphone Photography for Real Estate?
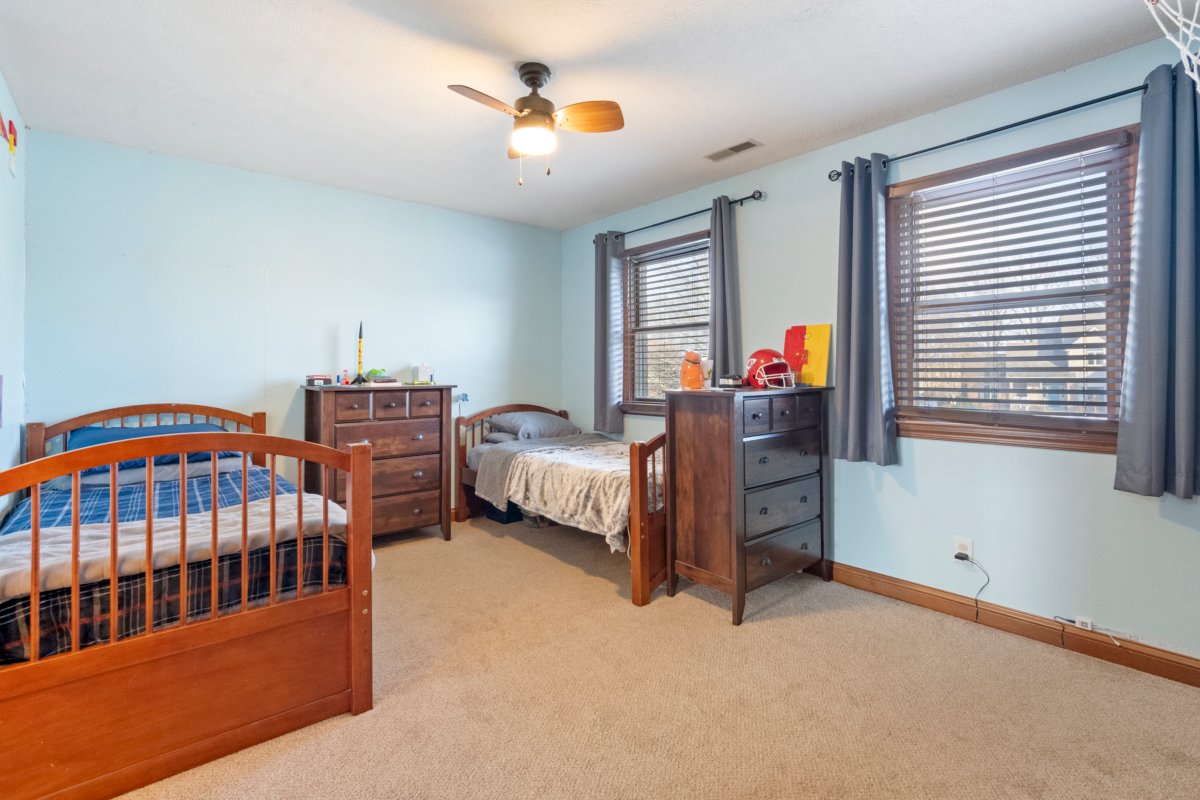
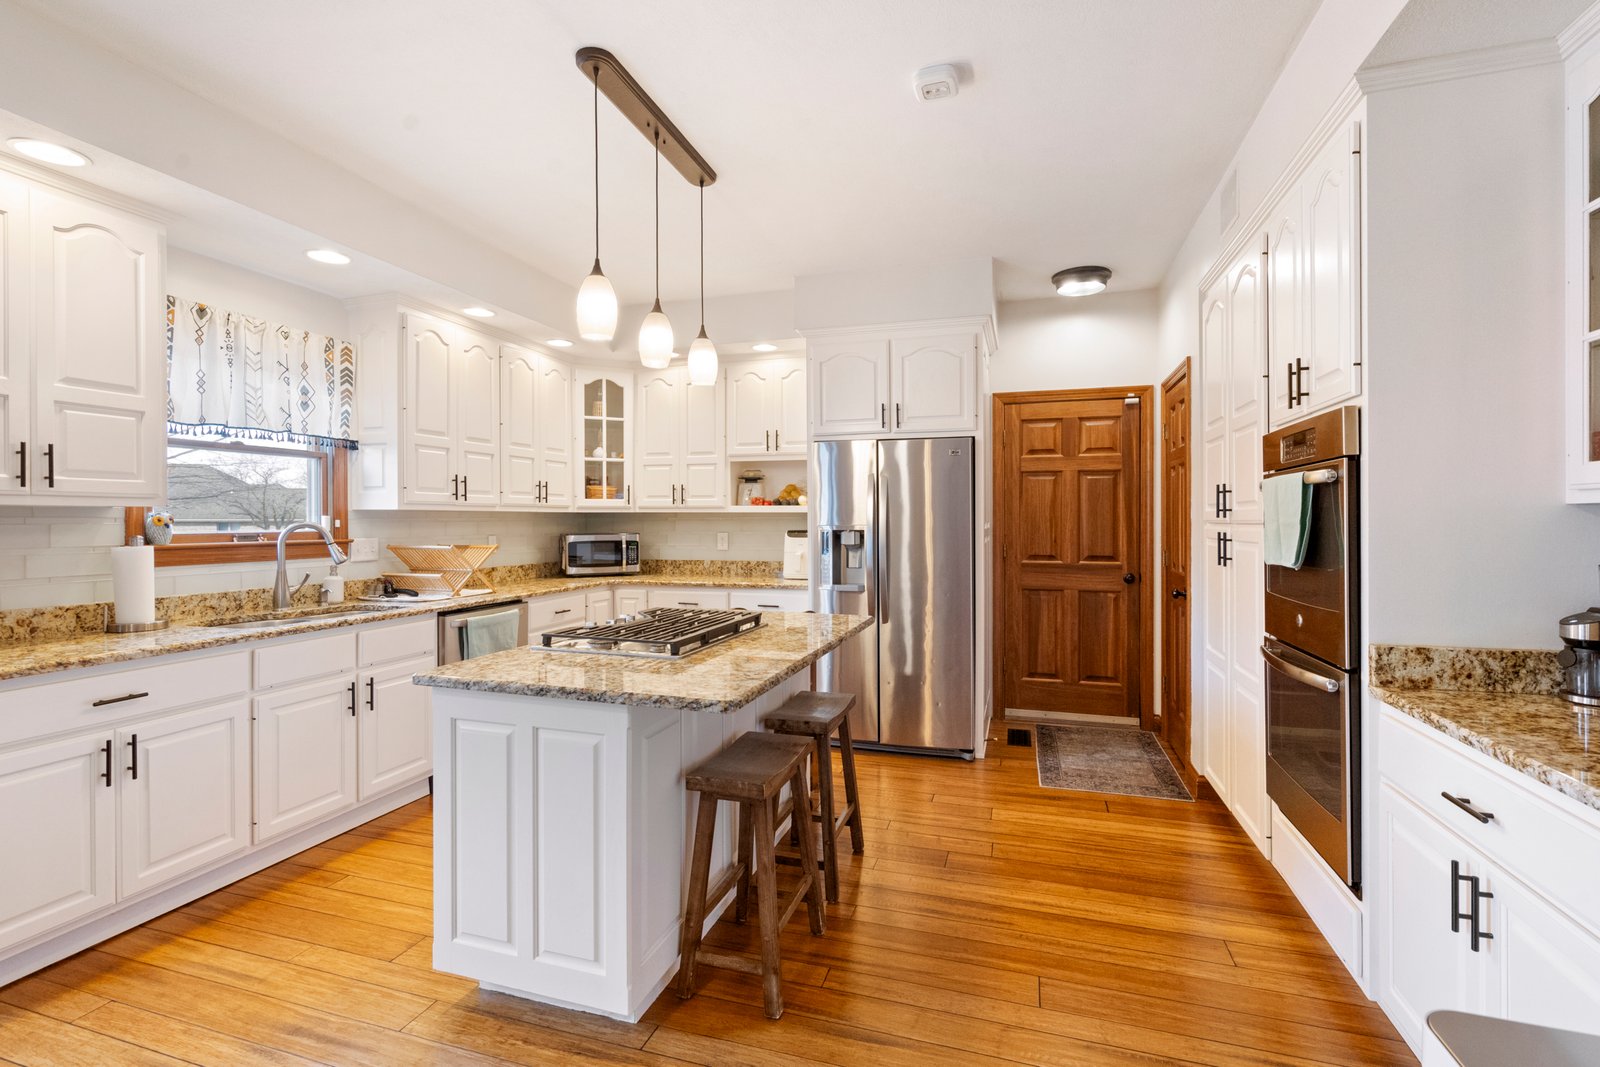
Real Estate Photos
Smartphones have come a long way in terms of camera technology. With advanced sensors, high-resolution lenses, and sophisticated software, modern smartphones can produce images that rival those of traditional cameras. Not only are smartphones portable and easy to use, but they also offer various editing apps and tools that can help you enhance your photos on the go. Whether you’re photographing interiors or exteriors, you can achieve professional-looking results with just a few simple techniques.
1. Use the Right Lighting for Stunning Photos
Lighting plays a crucial role in real estate photography, and smartphones can capture natural light beautifully. Proper lighting can make a room appear brighter, more spacious, and more inviting. Here’s how to get the best lighting for your photos:
- Natural Light: Try to schedule your photoshoots when there’s plenty of daylight. The best times for real estate photos are early mornings and late afternoons when the light is softer and more flattering. During these “golden hours,” you can capture the warm, natural tones that make properties look more inviting.
- Avoid Direct Sunlight: While natural light is great, direct sunlight can create harsh shadows and overexposed areas in your photos. If you’re shooting outdoors, aim for cloudy days or shoot when the sun is lower in the sky.
- Indoor Lighting: When photographing interiors, turn on all the lights in the room to enhance the brightness. Avoid using your smartphone’s built-in flash, as it often results in unnatural lighting and harsh shadows. Instead, rely on overhead lights and lamps to create a balanced, inviting atmosphere.
2. Find the Best Angles and Perspectives
Composition is key to creating appealing real estate photos. The goal is to showcase the space in the most flattering way. Here are some tips on finding the perfect angle:
- Wide Angles: Use the wide-angle feature of your smartphone to capture as much of the space as possible. When shooting a room, place your phone in the corner to show off the breadth of the area. However, avoid using extremely wide settings as they may distort the image and make the space look unrealistic.
- Eye Level Shots: For a more natural and proportionate look, hold the smartphone at eye level, especially when photographing interiors. Avoid shooting from too high or too low, as this can distort the perspective of the room.
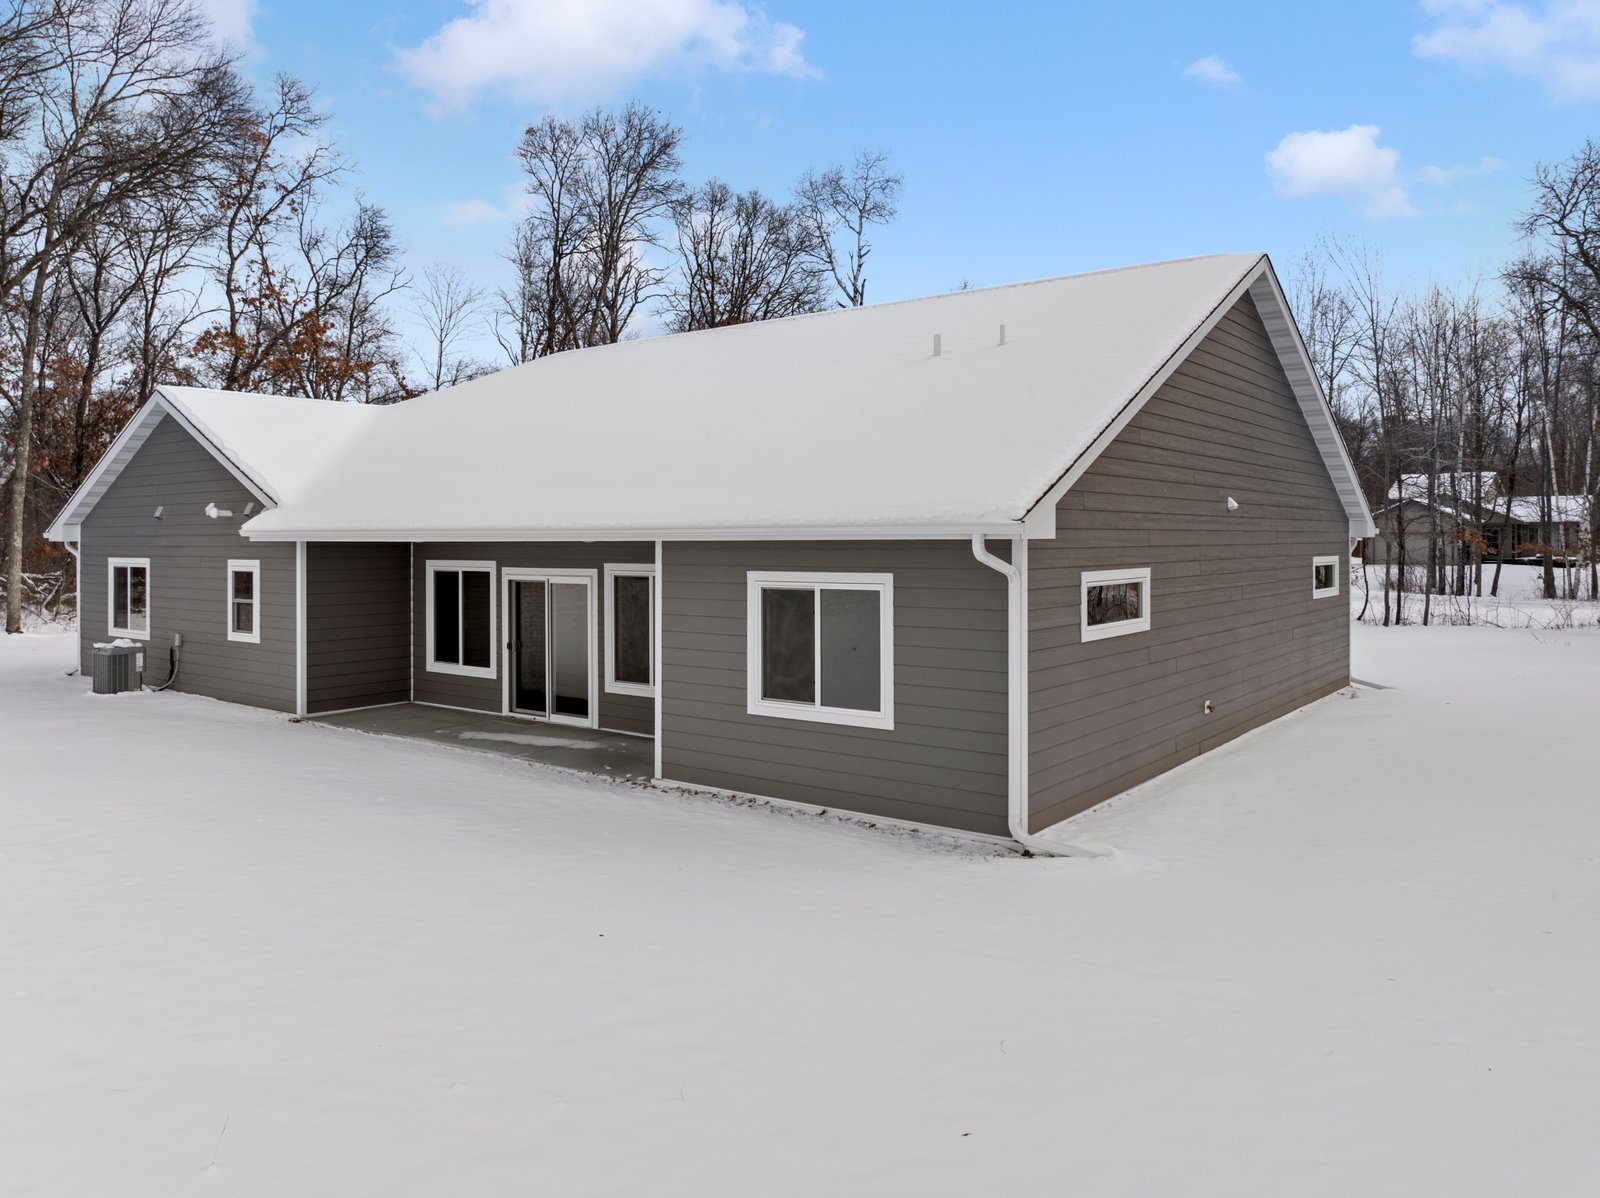
- Exterior Shots: When shooting the exterior of a home or building, try to photograph from an angle, not directly in front. This creates depth and allows you to capture more of the property’s features, such as the yard or surrounding landscape.
3. Keep Your Smartphone Steady for Clear Photos
Blurry images can make even the most beautiful properties look unprofessional. To ensure your photos are crisp and clear, keep your smartphone steady while shooting. Here are a few ways to stabilize your shots:
- Use Both Hands: Hold your phone with both hands to prevent it from shaking.
- Use a Tripod: If you’re serious about your real estate photography, consider investing in a smartphone tripod. Many affordable tripods are available that can help you keep your phone stable during shoots.
- Activate Grid Lines: Most smartphones allow you to turn on grid lines in the camera settings. These lines help you align your shots and avoid tilting or misaligning the camera.
- Enable the Timer: To reduce camera shake, use the timer function to delay the shutter release by a few seconds.
4. Use Editing Apps to Enhance Your Photos
Real Estate Photos
While smartphones are capable of capturing stunning images, editing your photos afterward is essential to make them pop. Editing apps allow you to adjust exposure, contrast, and saturation, enhancing the overall look of your real estate photos. Here are a few apps to consider:
- Lightroom: Adobe Lightroom is a powerful editing app that offers professional-level editing tools, including exposure adjustments, color correction, and noise reduction.
- Snapseed: A popular free app by Google, Snapseed offers many features, such as perspective correction and fine-tuning of details like shadows and highlights.
- VSCO: Known for its user-friendly interface, VSCO is great for quick adjustments and creating visually appealing filters for your real estate photos.
Editing your photos can help correct lighting issues, enhance colors, and remove distractions, but be careful not to overdo it. The goal is to make the property look its best without making it look artificial.
5. Capture the Details
When photographing a property, it’s important to capture both wide shots and close-ups of key features. Highlight the unique aspects of the property, such as architectural details, beautiful fixtures, or a well-maintained garden. These close-up shots give potential buyers a better sense of the home’s character.
- Focus on Features: Pay attention to things like countertops, appliances, and architectural elements that make the property stand out. Use your smartphone’s zoom feature carefully, as excessive zooming can degrade image quality.
- Avoid Clutter: Before you start taking photos, tidy up the space by removing unnecessary items like trash, personal photos, or clutter. A clean, decluttered space looks more appealing in photos.
6. Shoot Multiple Photos and Choose the Best Ones
Don’t settle for just one shot. Take several photos from different angles to give yourself more options when editing and selecting the best images. Try to capture the property from a variety of perspectives to showcase both the interior and exterior in the most flattering light.
7. Optimize Your Photos for the Web
Once you’ve taken and edited your photos, it’s important to optimize them for online use. High-resolution photos are great, but large image files can slow down the loading time of websites or listings. To optimize your images for the web:
- Resize Images: Use tools like Photoshop or online image compressors to reduce file size without losing image quality.
- SEO for Real Estate Photos: Add descriptive file names and alt text to your images. For example, instead of naming an image “IMG_1234.jpg,” rename it to something like “modern-kitchen-real-estate.jpg.” This will help your images show up in search engine results.
Conclusion
Taking beautiful real estate photos with your smartphone is entirely possible with the right techniques and tools. By using the best lighting, finding the right angles, keeping your smartphone steady, and editing your photos, you can create stunning images that showcase properties in their best light. Whether you’re a real estate professional, a photographer, or simply someone selling a home, these smartphone photography tips will help you capture the perfect shot every time.
Contact me for the best real estate photo editing service.
