

Essential Real Estate Photo Editing Tips: How to Enhance Your Property Shots
Introduction
In real estate photography, a picture is worth more than a thousand words—it’s often the first impression potential buyers will have of a property. As a real estate photographer, capturing a great shot is just the beginning. The real magic happens during the editing process. Whether you’re new to editing or looking to refine your skills, mastering the art of photo editing is essential to make your real estate photos stand out.
In this post, we’ll cover essential real estate photo editing tips to help you create professional, eye-catching images that will attract more buyers and help properties sell faster. From exposure adjustments to color enhancements, these techniques will elevate your work and make your listings shine.
1. Mastering Exposure and Contrast for Real Estate Photography

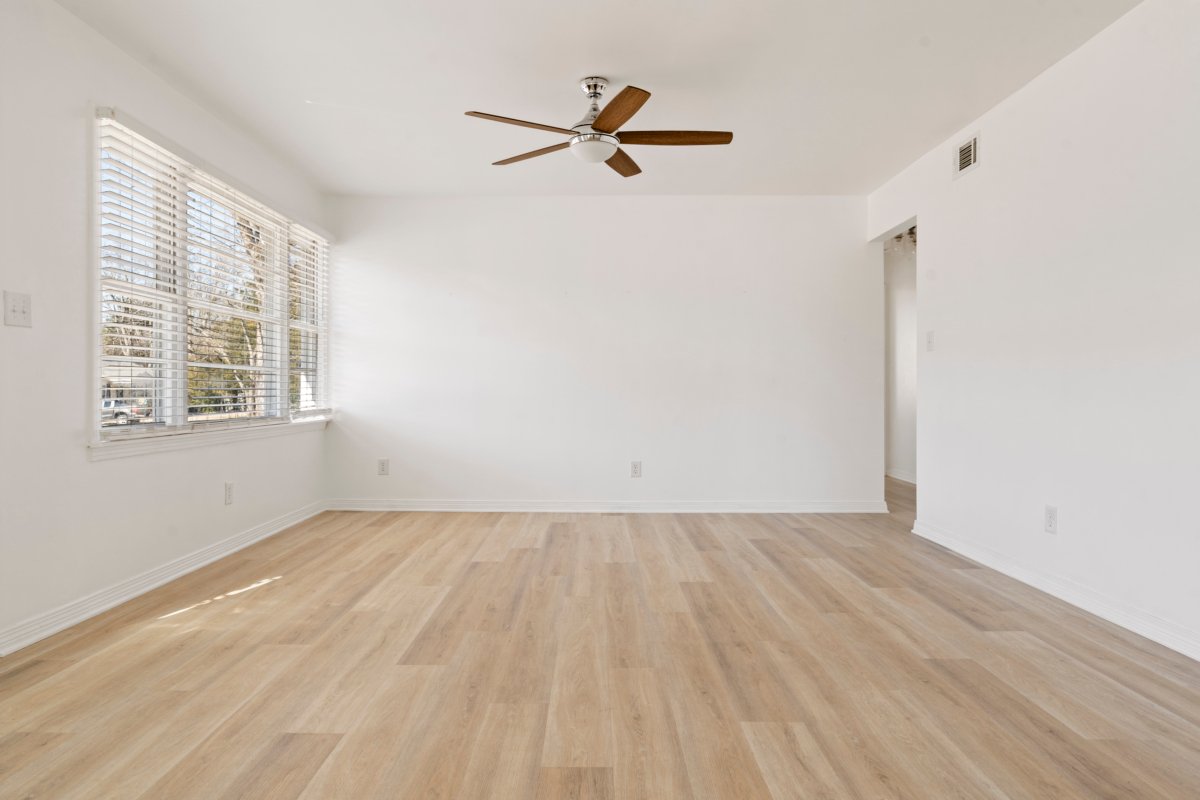
Real Estate Photo Editing
Why It Matters:
One of the most important aspects of real estate photography editing is getting the exposure right. Too dark or too bright photos can make it hard to see the details of a property, which is crucial for potential buyers. By adjusting exposure and contrast, you ensure that your photos look natural and highlight the property’s best features.
How to Do It:
- Exposure Adjustment: In Lightroom or Photoshop, start by adjusting the “Exposure” slider to make sure the overall image brightness is well balanced. If the photo is too dark, increase the exposure; if it’s too bright, decrease it.
- Contrast Enhancement: After adjusting exposure, fine-tune the contrast to add depth. Increasing the contrast makes the highlights pop, while deepening shadows gives the photo a more professional, dramatic feel.
Pro Tip: When editing indoor real estate photos, pay attention to the light coming through windows. Make sure natural light is visible but doesn’t overpower the image, making the room look washed out.
2. Straightening and Correcting Distortion for Clean, Professional Lines
Why It Matters:
When photographing properties, especially interiors, lens distortion and misaligned lines are common issues. Distorted lines can make the property look unprofessional and less appealing. Straightening the lines and removing distortion helps present the property in the best light and gives the image a polished, symmetrical look.
How to Do It:
- Lens Correction: Use the “Lens Correction” tool in Lightroom or Photoshop to remove any distortion caused by wide-angle lenses. These lenses are great for capturing a broad perspective but can create curved lines, especially around the edges of the frame.
- Straightening Vertical Lines: Vertical lines, like walls and door frames, need to remain straight in the image. In Lightroom, you can use the “Transform” tool to straighten lines. Use the “Vertical” slider to adjust the perspective, ensuring that the lines are perfectly aligned.
Pro Tip: For interior shots, pay attention to the alignment of furniture and fixtures. Small adjustments can make a big difference in the final image’s professionalism.
3. Enhancing Colors and Brightness for a Polished Look
Why It Matters:
Color is one of the most important factors in real estate photography. Enhanced colors make properties look more inviting and vibrant, helping potential buyers emotionally connect with the listing. Proper brightness adjustments also bring out key details that could otherwise be lost in dark areas.
How to Do It:
- Adjusting Brightness and Vibrancy: In Lightroom, use the “Vibrance” slider to make certain colors pop without over-saturating the image. Increase the vibrancy of specific colors like green (for lawns and plants) or blue (for skies) to make them look more appealing.
- Enhancing Whites and Blacks: Adjust the “Whites” and “Blacks” sliders to bring out fine details in the highlights and shadows of the photo. For example, increasing the “Whites” slider can help make the whites of a kitchen’s backsplash or the light fixtures brighter and cleaner.
Pro Tip: Avoid oversaturating colors, especially in outdoor shots. While it’s important to make the image vibrant, overdoing it can make the photo look unnatural.
4. Sharpening Details and Reducing Noise for a Crisp Image
Real Estate Photo Editing
Why It Matters:
Sharper images with clear details give potential buyers a better look at the property. On the other hand, noise (or graininess) can make your photos look unprofessional and blurry. Ensuring sharpness and reducing noise will elevate the overall quality of your photos.
How to Do It:
- Sharpening: In Lightroom, go to the “Detail” panel and adjust the “Sharpening” slider. Be careful not to overdo it—too much sharpening can create unnatural halos around edges.
- Noise Reduction: If you notice graininess in your photo (especially in low-light shots), use the “Noise Reduction” slider in Lightroom to smooth out the image. Increasing “Luminance” and “Color” noise reduction will help reduce the graininess and make your photo clearer.
Pro Tip: For low-light or night-time real estate photos, noise reduction is especially important to preserve the quality and clarity of the image.
5. Final Touches: Cropping and Exporting for Web Use
Why It Matters:
Once you’ve made all the necessary adjustments, the final step is cropping and exporting the image. Cropping helps you focus on the most important elements of the property, while proper export settings ensure the image looks great on websites and listing platforms.
How to Do It:
- Cropping: Crop the image to ensure the composition is balanced and that unnecessary elements (like clutter in the background) are removed. Keep the “Rule of Thirds” in mind when cropping for better visual appeal.
- Exporting: When exporting, make sure to use the right resolution for online platforms. For example, a resolution of 72 DPI (dots per inch) is sufficient for online listings, while higher resolutions may be necessary for print.
Pro Tip: For online listings, aim for an export size that balances image quality and file size. Large file sizes may slow down page load times, which can negatively impact the viewer’s experience.
Conclusion: Elevate Your Real Estate Photography with Editing
Editing is an essential part of the real estate photography process. By mastering exposure adjustments, correcting distortion, enhancing colors, and adding the final polish, you can create photos that captivate potential buyers and elevate your real estate listings.
As a real estate photographer, taking the time to perfect your editing skills will not only improve the quality of your images but also help you stand out from the competition. If you’re looking for professional photo editing services to take your real estate photos to the next level, don’t hesitate to reach out. Let’s work together to make your listings look irresistible!
If you’re a real estate photographer who wants to make your photos stand out, I offer professional photo editing services tailored to your needs. Contact me today to get started and make your listings shine!
Contact me for the best real estate photo editing service.


