

How to Edit Real Estate Photos for Social Media: Ultimate Guide to Boost Engagement
In today’s digital age, social media is one of the most powerful tools for real estate marketing. Whether you’re selling a house, apartment, or commercial property, your photos can make or break a potential buyer’s first impression. As a real estate professional, one of the most crucial aspects of your marketing strategy should be ensuring that your images stand out on platforms like Instagram, Facebook, and Pinterest. In this comprehensive guide, we’ll dive into expert tips for editing real estate photos specifically tailored for social media. Let’s explore how to enhance your images to attract attention, increase engagement, and drive conversions!
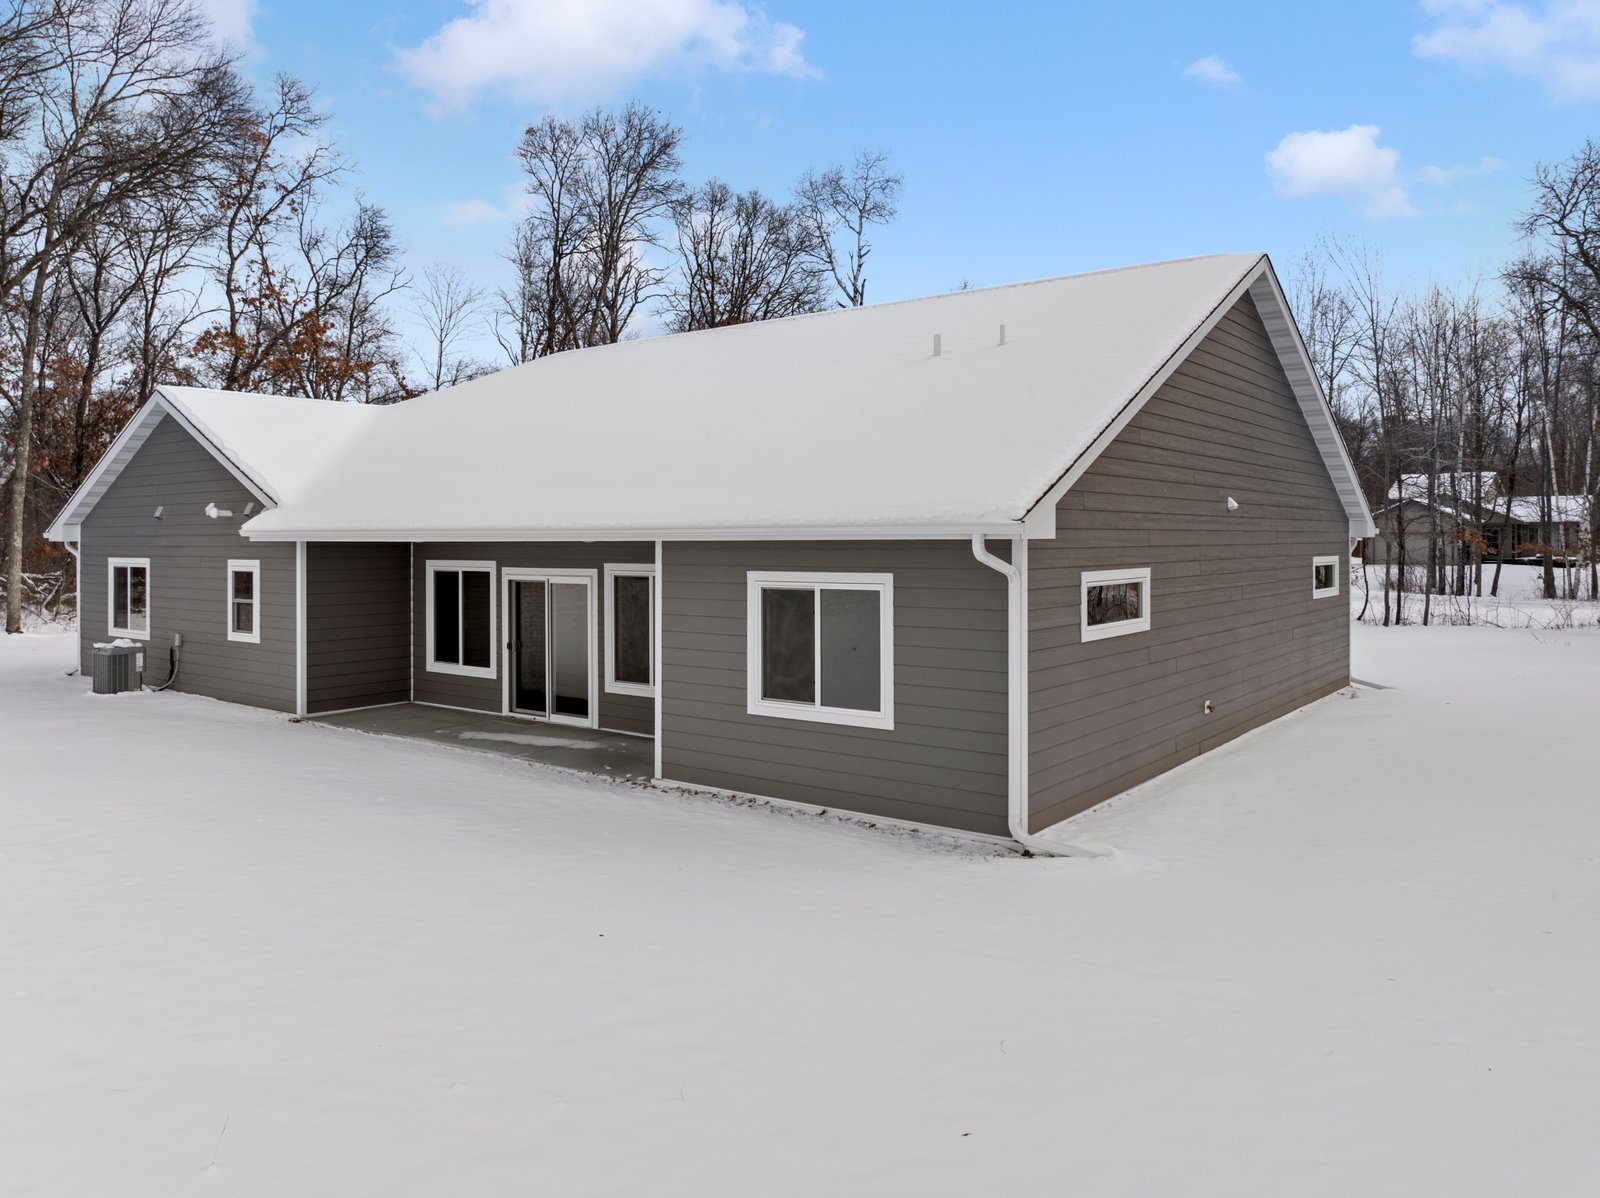
Why Real Estate Photos Are Essential for Social Media Marketing
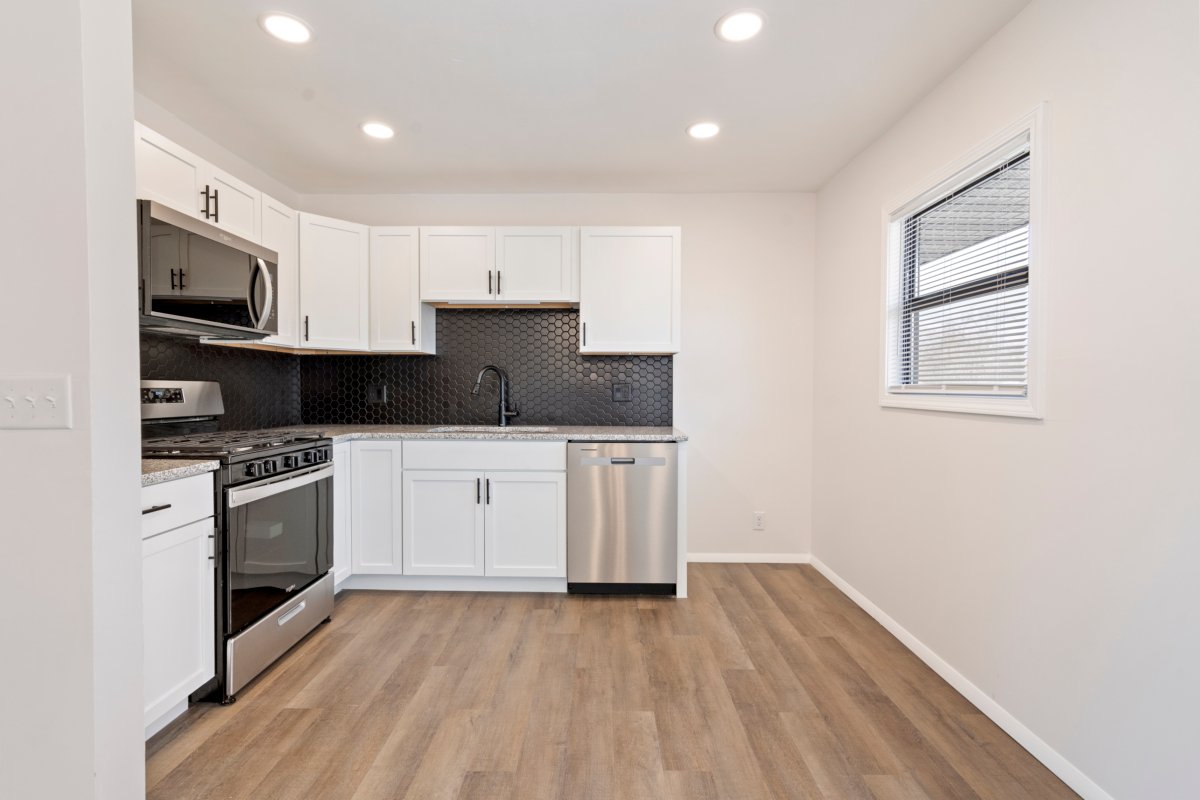
Real Estate Photos for Social Media
Before we jump into the editing techniques, let’s quickly explore why real estate photos are so important for social media marketing.
Social media platforms are visual by nature, and potential buyers are more likely to engage with eye-catching, high-quality photos. Real estate professionals who use beautiful, well-edited photos in their posts, stories, and ads have a significant edge over their competition. These images not only showcase properties but also convey the vibe, lifestyle, and emotional appeal that make a property desirable.
When your images pop on social media, they can lead to more website visits, inquiries, and even faster sales. Real estate images are often the first point of contact between potential buyers and a property, so they must grab attention immediately. Here’s how to make sure your photos are optimized for success.
Step-by-Step Guide: Editing Real Estate Photos for Social Media
1. Start with the Right Image Dimensions for Each Platform
Each social media platform has its preferred image sizes to display your content in the best possible way. Using the wrong size can lead to distorted or pixelated images, which might deter viewers from engaging with your posts. Here are the best image dimensions for various platforms:
- Instagram:
- Square: 1080 x 1080 px
- Portrait: 1080 x 1350 px
- Landscape: 1080 x 566 px
- Facebook:
- Landscape: 1200 x 630 px
- Portrait: 1200 x 1500 px
- Pinterest:
- Vertical: 1000 x 1500 px (best for showing property details)
Make sure your images fit these recommended sizes before uploading to avoid distortion. A simple resizing tool or plugin can help you quickly adjust the dimensions without compromising the quality.
2. Correct Lighting and Enhance Brightness
Lighting is a key factor in real estate photography, and editing can further improve it. Adjusting the brightness and contrast of your images will ensure that they’re not too dark or too bright. Natural light is always best for showcasing the details of a room, so if you have a photo that’s taken in dim lighting, enhance the brightness to make the room appear more inviting.
When adjusting contrast, the goal is to bring out the depth and detail in both shadows and highlights. A high-contrast image will make your photo look sharper and more dynamic, which is especially important on visually saturated platforms like Instagram.
3. Sharpen the Image to Show Key Details
High-quality real estate photos should highlight every detail of the property, from architectural features to the smallest decorative elements. Using editing tools like the sharpness slider will allow you to fine-tune the image for a crisp, clear look. Be cautious not to overdo it, as too much sharpness can make an image look unnatural. A subtle increase in sharpness will help define edges and make features like wood floors, countertops, or outdoor landscaping stand out.
4. Use White Balance and Color Adjustments for Warmth
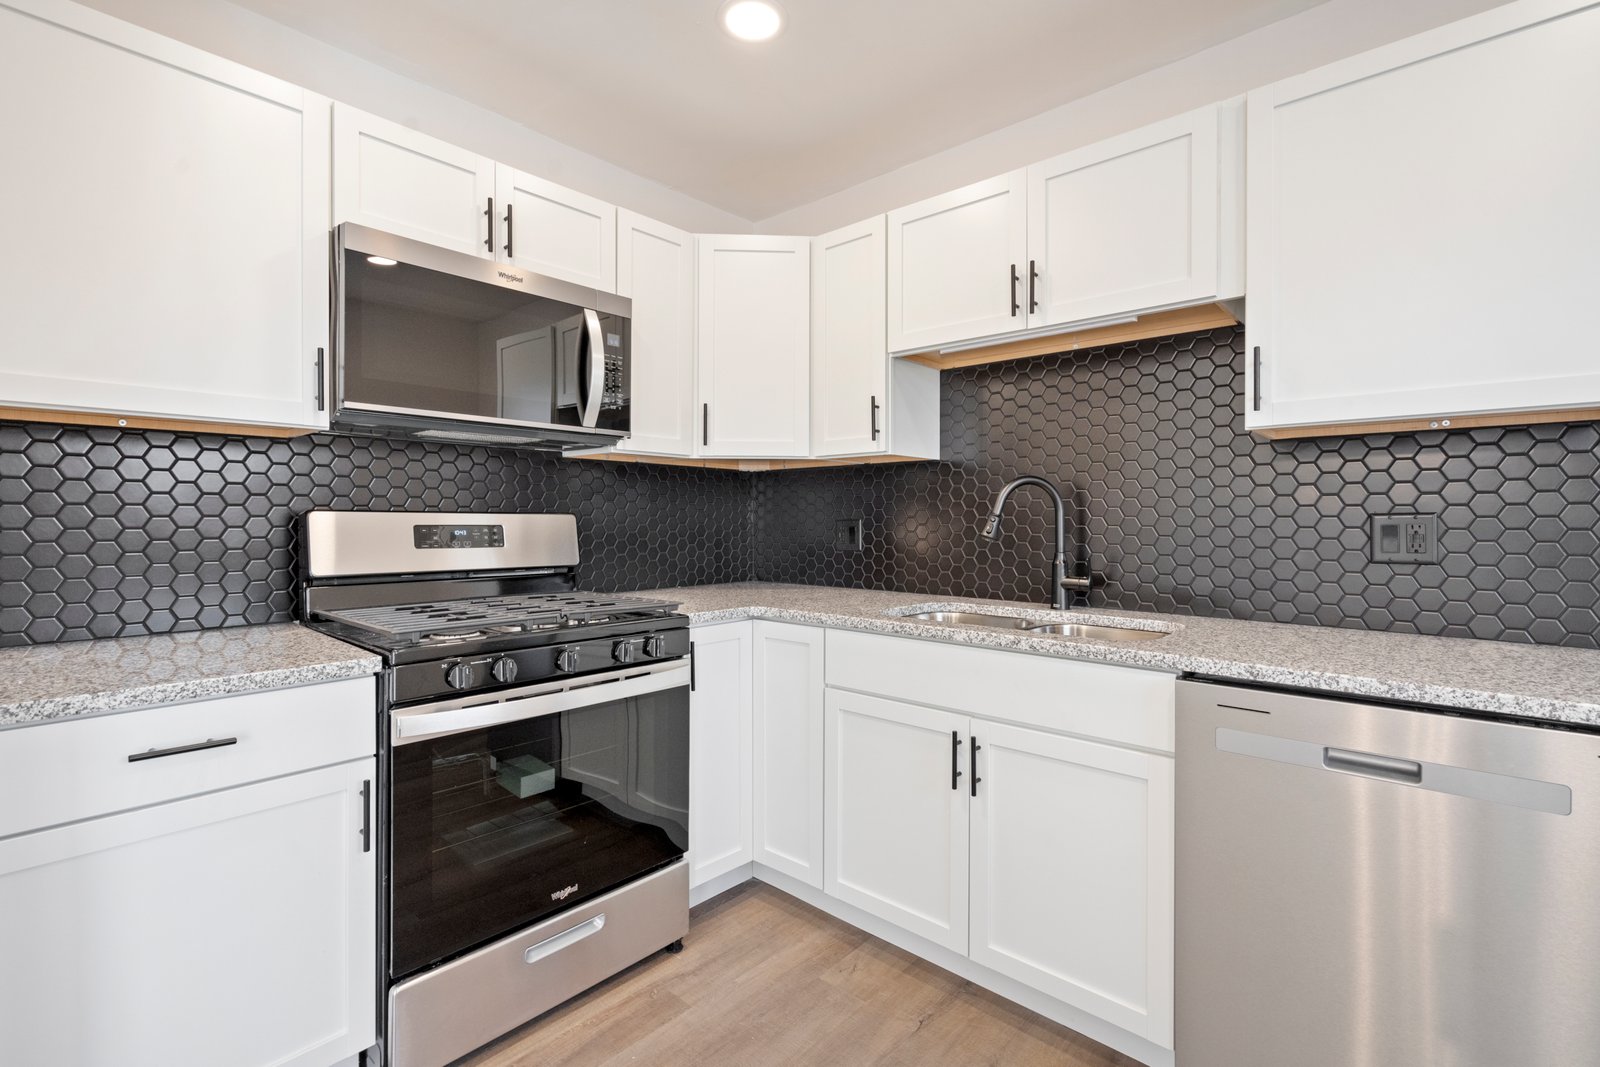
Real Estate Photos for Social Media
The warmth of your photos plays a significant role in how they are perceived. Warm tones tend to make spaces feel more welcoming and comfortable, while cool tones can create a more modern or sleek atmosphere. You can use white balance settings to adjust the overall warmth of the image, giving it a natural, inviting glow.
Color enhancement is another powerful tool for making your photos pop. By boosting the vibrancy of the colors in the image, you can make the grass greener, the sky bluer, and the interior features more vibrant. Keep in mind, however, that subtlety is key. Over-saturating your photos can make them look artificial, which can detract from the property’s appeal.
5. Remove Clutter and Distractions
When editing real estate photos for social media, cleanliness is essential. Buyers will want to focus on the property, not on the distractions in the background. Use the healing brush or clone stamp tool to remove any unnecessary items in the shot, such as trash cans, power lines, or distracting furniture pieces.
If the property has overly cluttered areas (such as a crowded countertop or an overly busy wall), edit these elements out or simplify them to present the space in its best light. Decluttering not only improves the aesthetics but also gives potential buyers a clearer idea of how the space can be used.
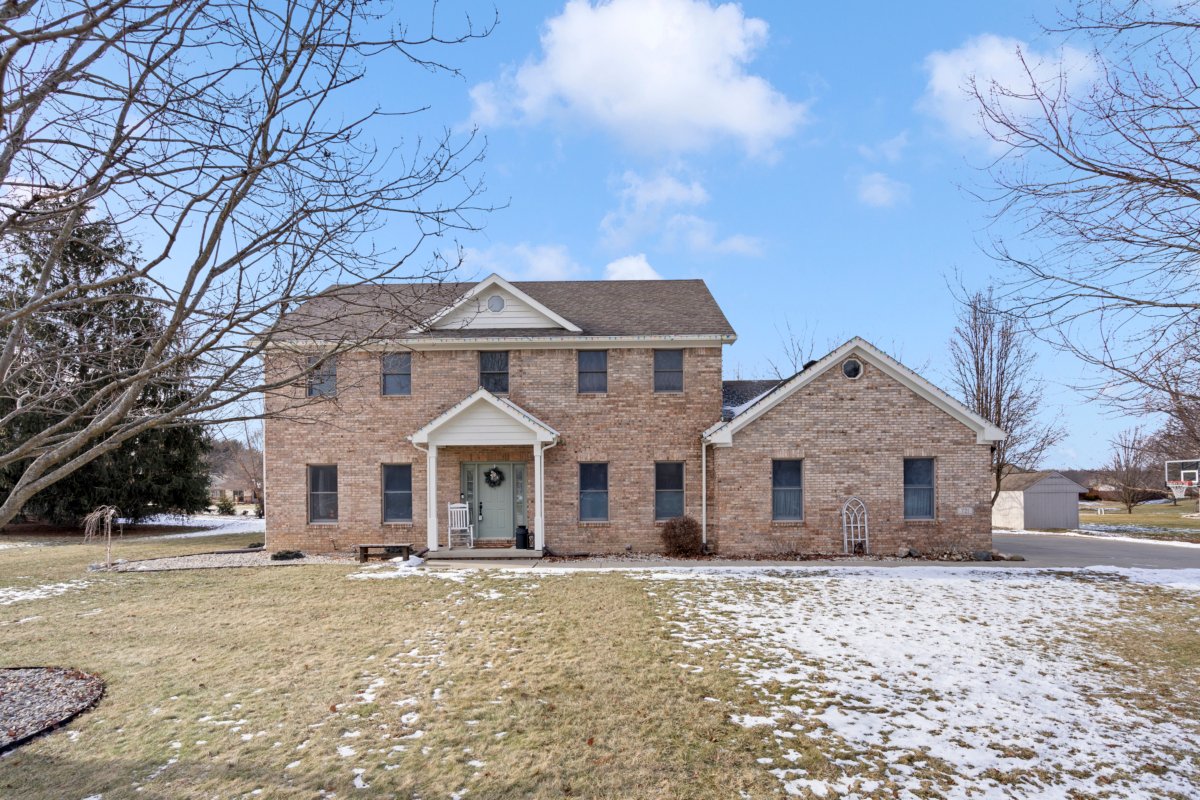
6. Enhance the Outdoor Shots
Exterior shots are essential for showcasing the overall appeal of a property. Enhance the sky by increasing the saturation or contrast to make it more vibrant, while also adjusting the exposure to ensure that the house doesn’t appear too dark against the bright sky.
If you’re editing photos of a garden or lawn, you can increase the saturation of the greenery to make the space feel lush and inviting. However, be careful not to go overboard—too much editing can make the images look artificial.
7. Use Filters for Consistency (But Don’t Overdo It)
Filters can add a distinct touch to your real estate photos, but they should be used sparingly. Subtle filters can enhance the overall mood of the photo, but overusing them might make the property look less natural and harder to relate to. Aim for filters that complement the natural tones of the property. For instance, filters that enhance warm tones work well for cozy interior shots, while cooler filters may suit modern, minimalist properties.
One filter to consider is Instagram’s Clarendon, which gives a bright, lively feel without overwhelming the natural look of your images. Test out a few different filters to see which one works best with the style of the property.
8. Add Your Branding and Logo
Branding is essential for building recognition and credibility in real estate marketing. When sharing images on social media, consider adding your logo or watermark to the photo. This way, even if your images get shared or saved, your brand remains visible.
Place the logo subtly in a corner of the image to avoid drawing attention away from the property. Additionally, including your website or social media handle in the image caption or description will make it easier for potential clients to reach you.
Conclusion: Perfecting Your Social Media Real Estate Photos
To sum up, editing real estate photos for social media is about more than just improving the image quality—it’s about telling a story and evoking an emotional response from potential buyers. By following the steps outlined in this guide, you can create stunning images that attract attention, boost engagement, and ultimately drive more inquiries. Remember that each social media platform has its own best practices, so take the time to tailor your images to fit the dimensions and aesthetics of each one.
By investing time in perfecting your real estate photos, you are investing in the success of your marketing efforts. The right photos will not only help your listings stand out but also build your brand’s reputation as a professional and trustworthy real estate agent.
Contact me for the best real estate photo editing service.

