

A Complete Guide to Real Estate Photo Editing for Photographers: How to Enhance Your Photos and Create Stunning Property Listings
As a real estate photographer, your goal is to capture the perfect shot that highlights the beauty and potential of a property. However, even the best photos may need a little extra work to make them shine. That’s where real estate photo editing comes in. Proper photo editing can enhance your images, eliminate distractions, and make your listings stand out in a competitive market.
In this guide, we will walk you through the essential steps to take your real estate photos from good to great with the help of professional editing techniques. Whether you’re new to photo editing or looking to improve your editing process, this article will provide you with the tools and knowledge to elevate your real estate photography.
Step 1: Understand the Importance of Real Estate Photo Editing
REAL ESTATE PHOTO EDITING
Before we dive into the specifics of the editing process, it’s important to understand why photo editing is crucial in real estate photography. The main goal of editing is to enhance your images in a way that accurately represents the property while making it visually appealing. High-quality photos are the number one way to attract potential buyers online and can help properties sell faster and at higher prices.
Here are some key reasons why real estate photo editing is necessary:
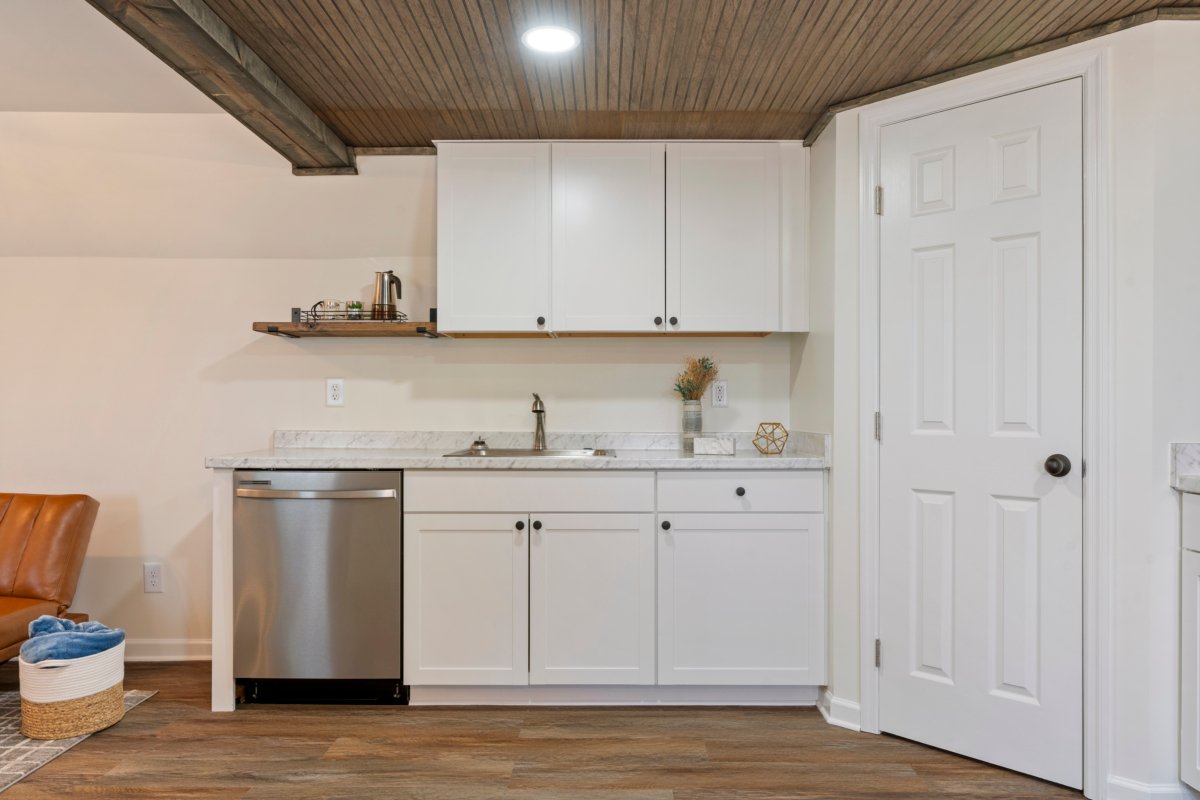
- Improves lighting: Real estate photos often suffer from lighting issues, especially in rooms with bright windows or poorly lit spaces. Editing helps balance the exposure, making the property look well-lit and inviting.
- Enhances colors: Correcting colors ensures that the property looks its best, whether it’s making the greens of the yard pop or ensuring the interior walls look warm and welcoming.
- Removes distractions: Sometimes unwanted elements, like clutter or reflections, can detract from the property’s beauty. Editing allows you to remove these distractions to create cleaner, more professional images.
Step 2: Basic Editing Techniques Every Real Estate Photographer Should Know
There are several editing techniques that every real estate photographer should be familiar with. These techniques are essential for improving the overall quality of your photos.
1. Adjusting Exposure and Contrast
One of the most important aspects of editing real estate photos is adjusting the exposure. Exposure refers to how light or dark an image appears, and balancing it ensures that the property looks neither too bright nor too dark.
- Increase exposure: If your photos are too dark, increase the exposure to reveal more detail, especially in shadowy areas.
- Adjust contrast: The contrast helps separate light and dark areas in an image. Increasing the contrast will make your photo pop, but be careful not to overdo it, as this can cause some areas to lose detail.
2. White Balance and Color Correction
Proper white balance ensures that the colors in your photos look natural. Sometimes, due to lighting conditions, images may have an unnatural yellow, blue, or green tint. Correcting this will make the property look true to life.
- Set the right white balance: Adjust the white balance to neutralize color casts and make sure the property looks natural. For indoor photos, you may need to adjust for tungsten or fluorescent lighting.
- Enhance the colors: Boost the saturation and vibrancy of the colors in the photo to make the property look more appealing. For example, enhancing the green of the lawn or the warm tones of the walls can make a space feel more inviting.
3. Correcting Perspective Distortion
Wide-angle lenses are often used in real estate photography to capture more of a room. However, this can lead to perspective distortion, where lines appear bent or skewed. This is particularly noticeable with vertical lines like door frames or windows.
- Straighten the lines: Use software tools to straighten the lines and correct any distortion. This will give the photo a more professional and polished appearance.
4. Sharpening the Image
Real estate photos need to be sharp and clear to capture all the fine details of the property. You can use sharpening tools to enhance the edges and textures in the photo.
- Enhance fine details: Sharpening will bring out textures like the grain of wood floors, the detail in rugs, and the crispness of architectural features. Be careful not to over-sharpen, as it can introduce noise or grain.
Step 3: Advanced Editing Techniques to Make Your Photos Stand Out
REAL ESTATE PHOTO EDITING
Once you’ve mastered the basic editing techniques, you can move on to more advanced methods to make your real estate photos truly stand out. These techniques are often used by professional photo editors and can significantly improve the final result.
1. High Dynamic Range (HDR) Editing
One of the most effective techniques for dealing with extreme lighting conditions is HDR (High Dynamic Range) editing. HDR allows you to combine multiple exposures to create a balanced image with both bright and dark areas well-exposed.
- How it works: When photographing a property, you may take several shots at different exposures—one underexposed, one overexposed, and one with normal exposure. HDR editing combines these images to create a perfectly balanced photo, revealing detail in both the bright windows and the shadowy corners.
- Best for: HDR is especially useful in interior shots where you have bright windows and dark interiors or exterior shots where the sky is much brighter than the land.
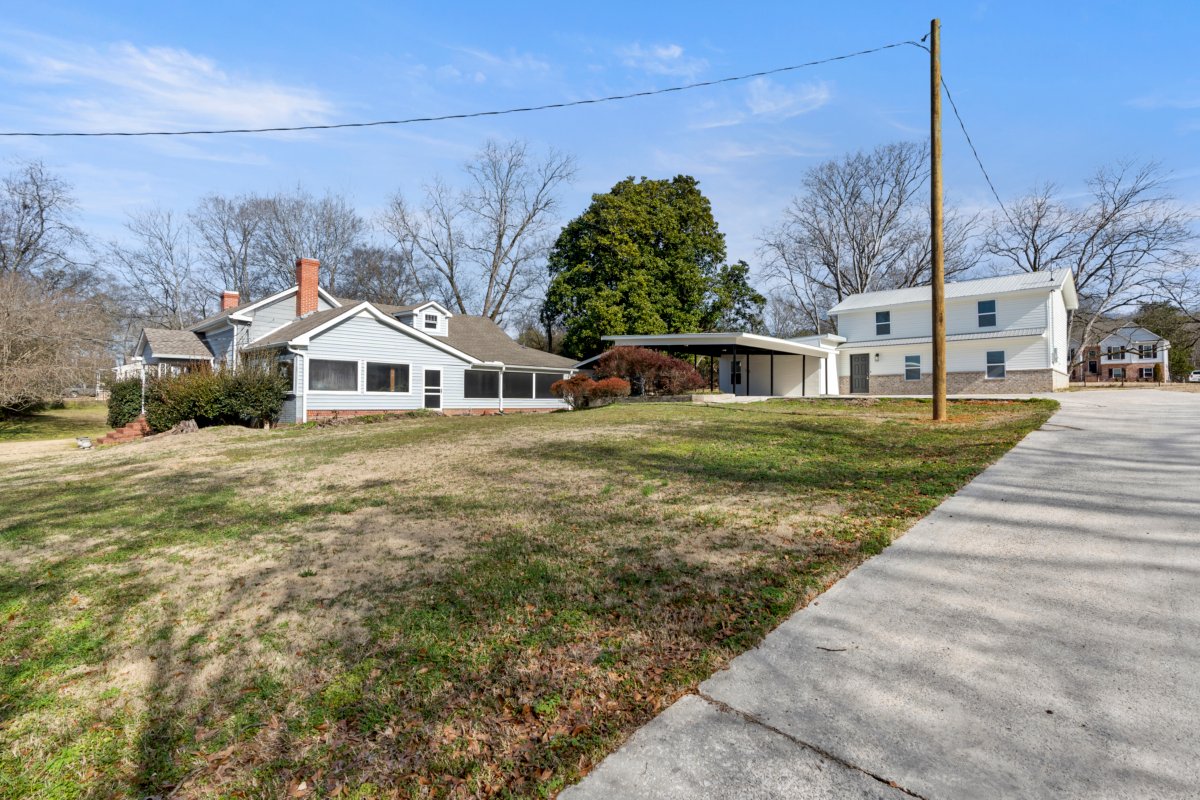
2. Sky Replacement
REAL ESTATE PHOTO EDITING
An often overlooked element in real estate photography is the sky. A dull or cloudy sky can make a property look less inviting. Sky replacement is a popular technique where the sky in a photo is digitally replaced with a more attractive one.
- How it works: Use editing software to select the sky area in your photo and replace it with a bright, blue sky or a sunset, depending on the mood you want to create.
- Best for: Exterior shots, especially for properties where the natural sky appears overcast or unappealing.
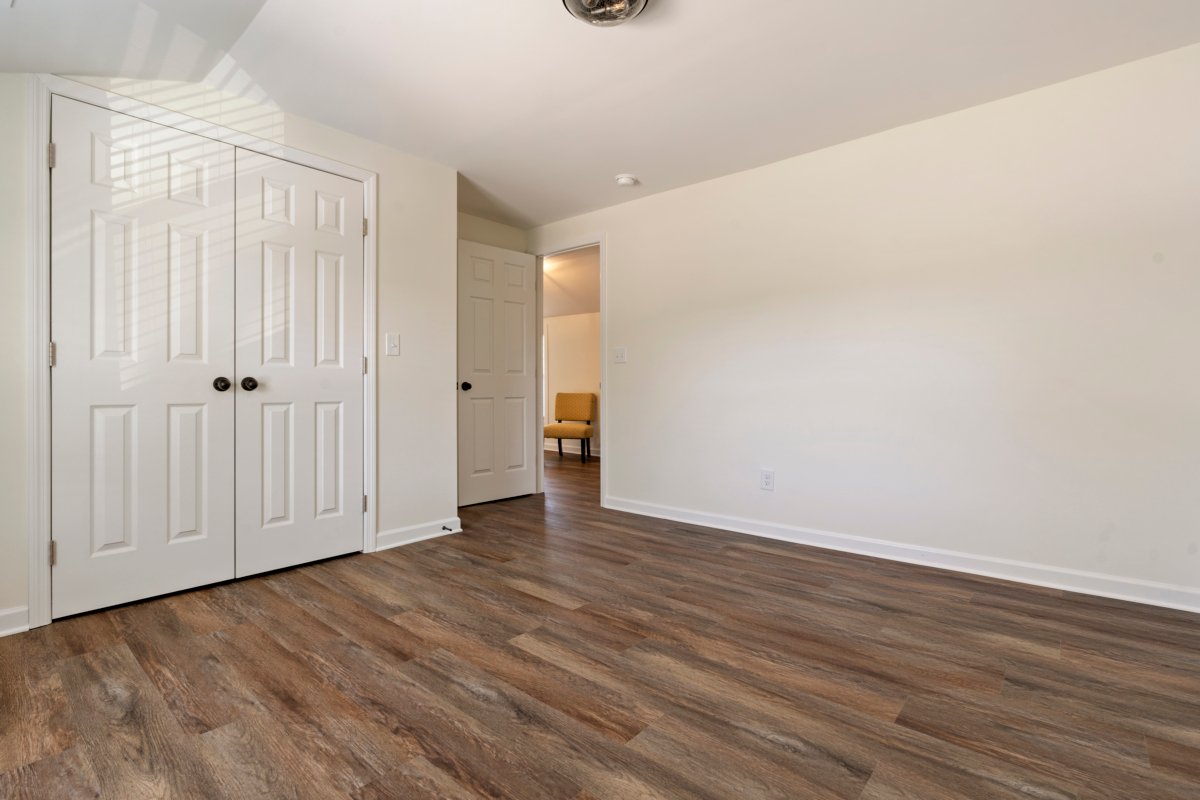
3. Virtual Staging
Sometimes, a property is empty or lacks furnishings that help buyers visualize the space. Virtual staging allows you to digitally add furniture, décor, and accessories to a photo, helping potential buyers picture how the space can be used.
- How it works: Professional editors can insert 3D models of furniture and home decor into your photos to make the space look more inviting and realistic.
- Best for: Empty properties, new builds, or homes that need a little extra style.
Step 4: Delivering the Final Product to Your Client
After editing your photos, the final step is to deliver the images to your client. Here are some tips for providing the best possible results:
- Organize your photos: Deliver the images in an organized manner, labeling them clearly (e.g., living room, kitchen, exterior, etc.) for easy navigation.
- Provide multiple file formats: Depending on the client’s needs, provide both high-resolution files (for printing) and web-optimized files (for online listings).
- Offer fast turnaround: Real estate photography often involves tight deadlines. Offering quick turnaround times can make you stand out and build client loyalty.
Conclusion: Elevating Your Real Estate Photography with Editing
As a real estate photographer, editing your photos is just as important as capturing them. By learning and applying the right editing techniques, you can transform your images into powerful marketing tools that help properties sell faster and for higher prices. Whether you’re enhancing exposure, fixing distortion, or replacing the sky, professional editing will ensure your photos stand out and attract potential buyers.
If you’re not confident in your editing skills or want to save time, consider outsourcing the editing process to a professional service. Professional editors can apply advanced techniques like HDR, sky replacement, and virtual staging, leaving you with high-quality images that will impress your clients and help you grow your business.
Contact me for the best real estate photo editing service.


