5 Mistakes When Using Natural Light in Real Estate Photography (And How to Fix Them)
Introduction
Natural light is one of the most powerful tools in real estate photography. It creates a warm, inviting atmosphere and highlights the property’s features in a way that artificial lighting simply can’t replicate. However, using natural light effectively can be tricky. Many real estate photographers make common mistakes that can negatively impact the quality of their images, leading to underexposed rooms, harsh shadows, or unflattering color casts.
In this article, we’ll walk through five common mistakes when using natural light in real estate photography and provide you with practical solutions to fix them. With the right approach, you’ll be able to harness the power of natural light to create stunning property photos that grab the attention of potential buyers.
1. Not Considering the Time of Day

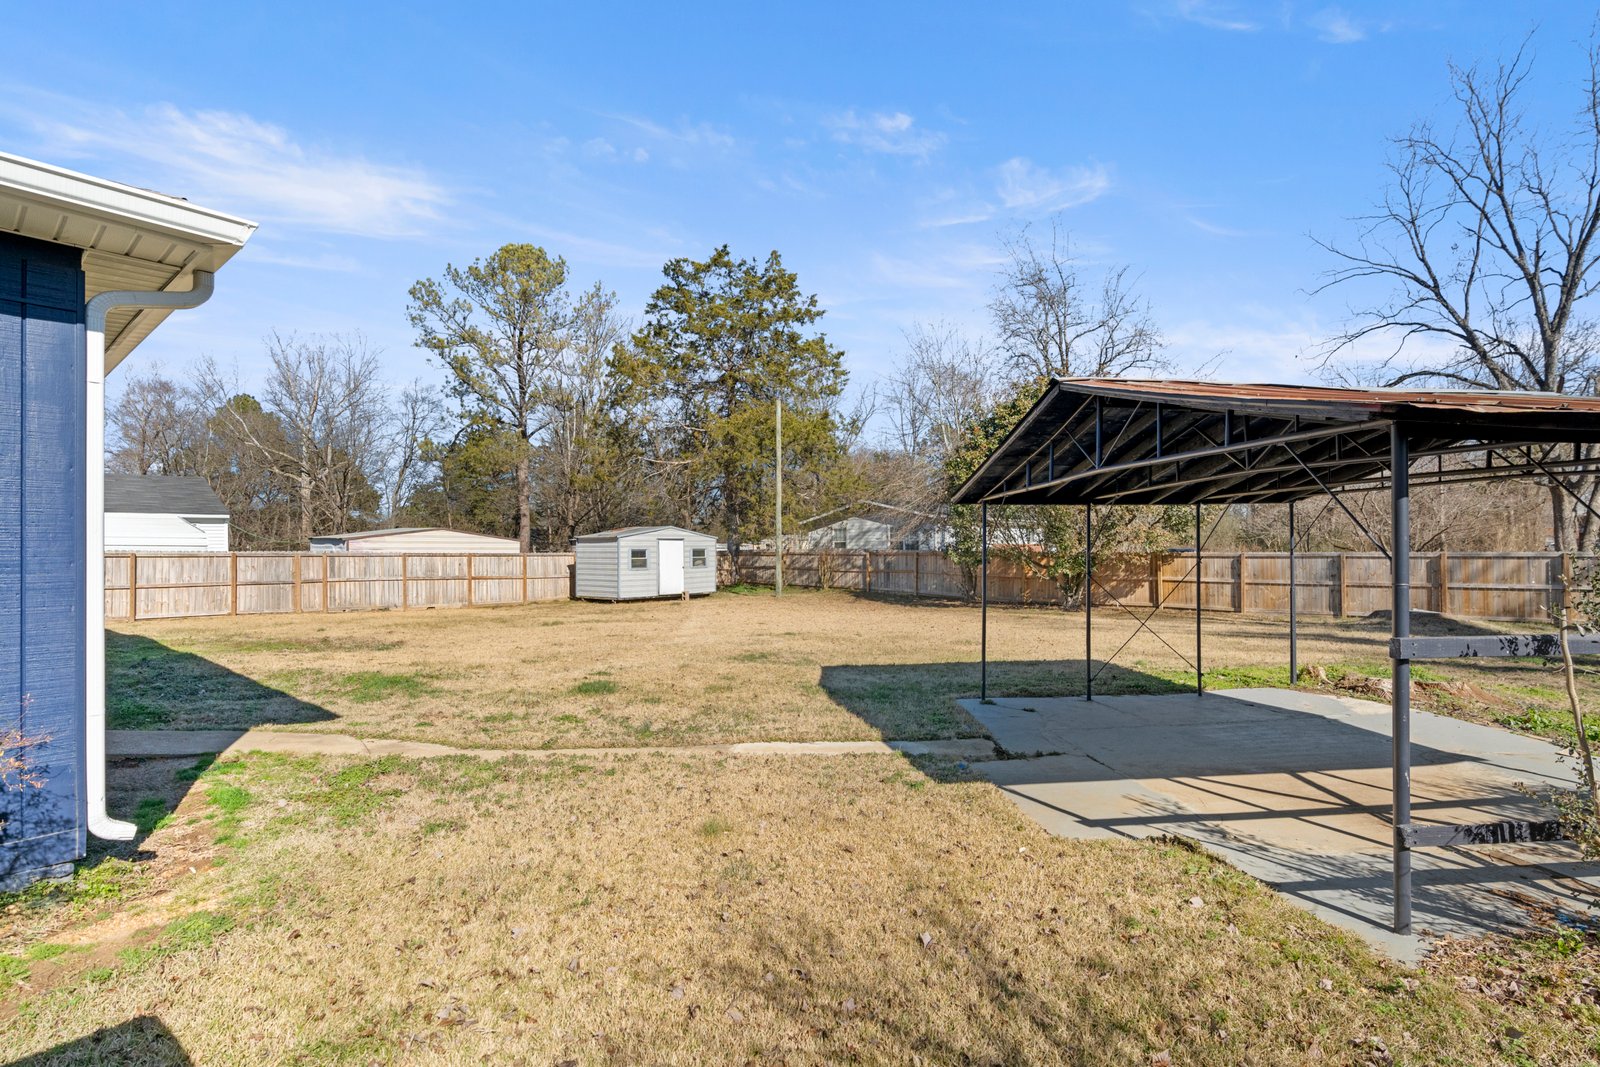
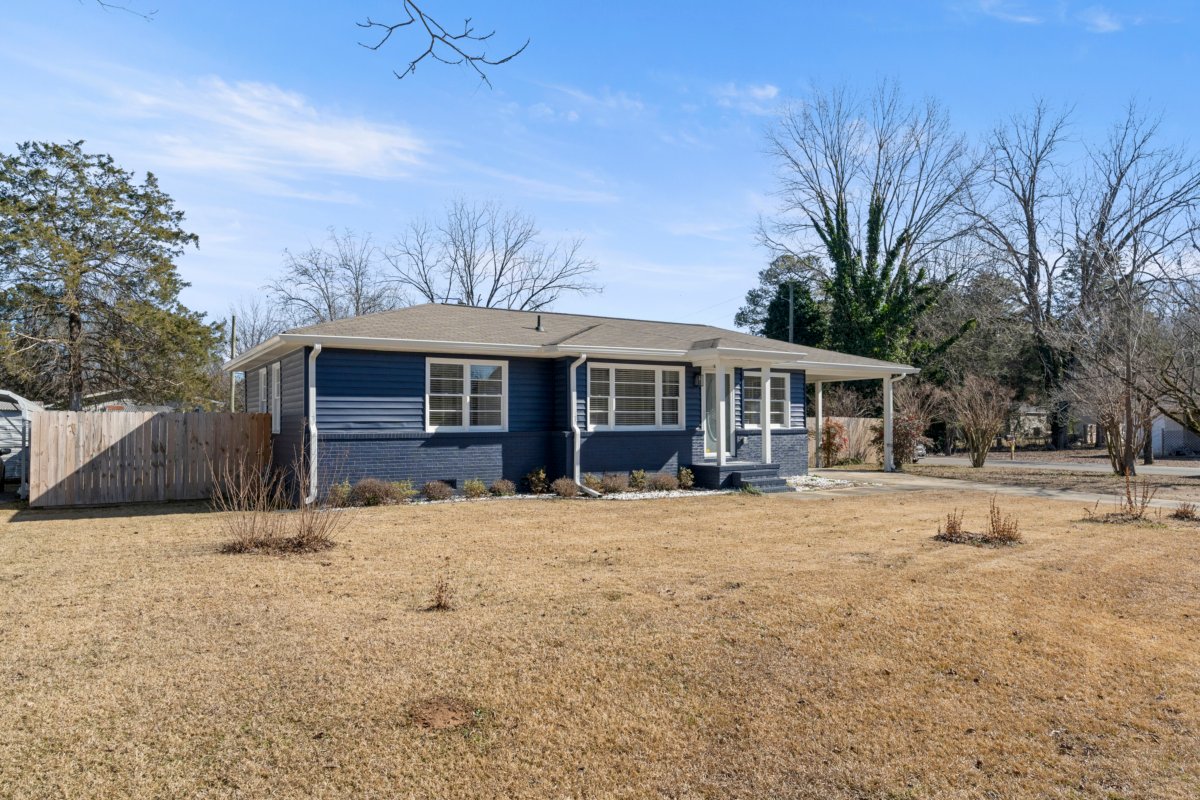
Natural Light in Real Estate Photography
The Mistake: One of the most significant mistakes photographers make when using natural light is shooting at the wrong time of day. The light quality changes drastically depending on the position of the sun in the sky, and shooting at the wrong time can result in harsh shadows or overly bright, unflattering light.
How to Fix It:
- Golden Hour: The best time to capture beautiful natural light is during the “golden hour,” which occurs shortly after sunrise and just before sunset. The light during these times is soft, warm, and diffused, making it ideal for interior and exterior shots.
- Midday Light: Avoid shooting around noon when the sun is directly overhead, as it can create harsh shadows and high contrast, which can make the space feel uninviting. If you have to shoot midday, use a combination of window coverings and reflectors to soften the light.
- Plan Ahead: Check the weather forecast and the exact timing of sunrise and sunset to make sure you’re shooting when the light is most flattering.
Pro Tip: You can use apps like Golden Hour or PhotoPills to track the best times to shoot in your location.
2. Ignoring Window Light Direction
The Mistake: A common mistake is not considering the direction of the natural light coming through windows. The angle of light can greatly affect the overall mood of the shot and can lead to overexposure, dark shadows, or a flat image if not managed properly.
How to Fix It:
- Light Placement: Pay attention to where the light is coming from and how it interacts with the room. If light is coming through a large window, try to place the camera in such a way that it captures the light’s best angle while avoiding direct glare or overexposed spots.
- Softening the Light: If the sunlight is too harsh, use sheer curtains or blinds to diffuse the light, creating a soft, even illumination. You can also use reflectors or bounce cards to redirect the light toward darker areas.
- Window Direction: For best results, shoot during the early morning or late afternoon when the sun is lower in the sky, especially for windows facing east or west. This provides more even lighting throughout the space.
Pro Tip: Be mindful of how the natural light interacts with furniture and walls to avoid creating harsh shadows or overexposed spots.
3. Failing to Adjust White Balance

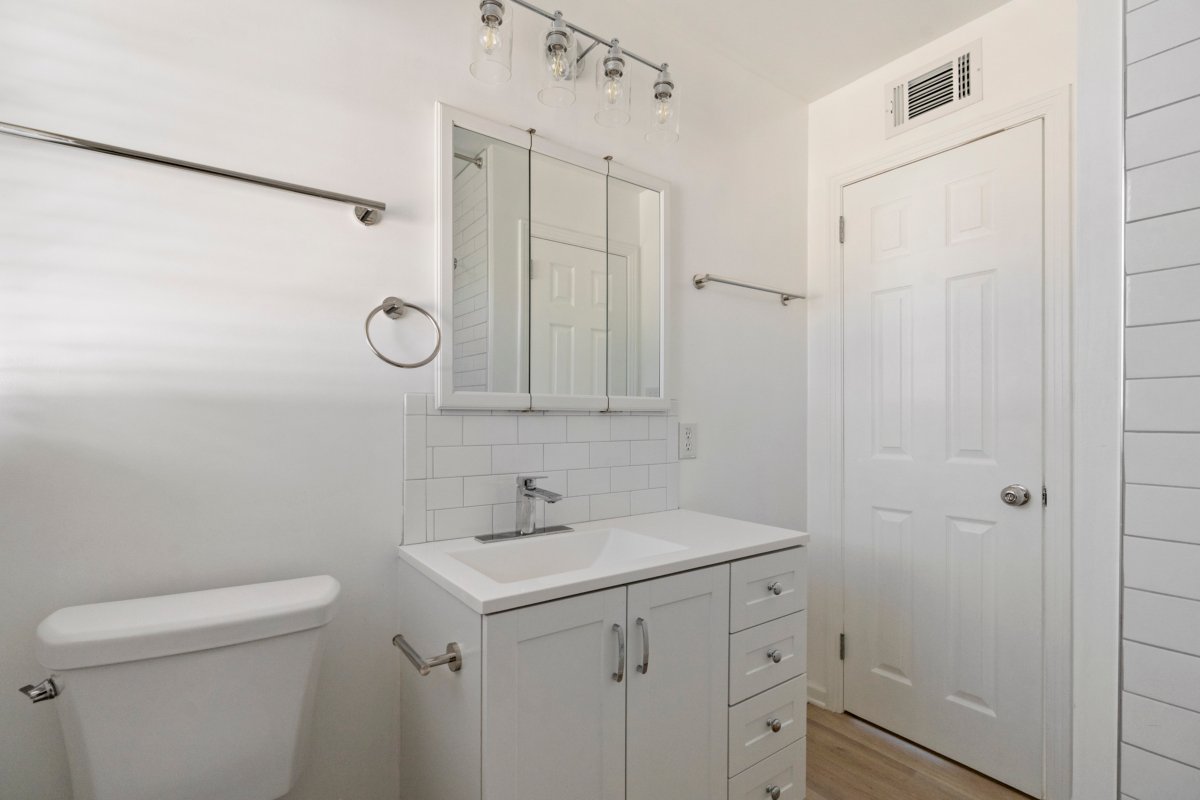
Natural Light in Real Estate Photography
The Mistake: Natural light can vary in color temperature, and failing to adjust your white balance properly can result in photos with unnatural or unwanted color casts. This is especially true when photographing rooms with mixed lighting sources, such as sunlight combined with indoor lighting.
How to Fix It:
- Set Custom White Balance: The best way to ensure accurate colors is by setting a custom white balance using a gray card or a color checker. This will help you eliminate color casts caused by different light sources.
- Auto White Balance: If you’re not comfortable with manual adjustments, you can start with auto white balance, but be prepared to fine-tune it in post-processing. However, be aware that AWB may not always provide consistent results, especially in rooms with mixed lighting.
- Use Daylight Settings: For most daylight shooting scenarios, setting your camera’s white balance to “daylight” (around 5500K) can help maintain a natural look without introducing unnatural color tints.
Pro Tip: If you’re unsure, shoot in RAW format, which gives you the flexibility to adjust the white balance during post-processing without losing image quality.
4. Overexposing Bright Windows
The Mistake: Bright windows can be a tricky challenge when using natural light. Overexposing the windows will result in a loss of detail, making the photo look flat and unappealing. This issue is particularly common when shooting interiors with large windows that offer a view of the outdoors.
How to Fix It:
- Expose for the Highlights: To prevent overexposure, always expose for the brightest areas, like windows, and then use post-processing to brighten the shadows later. Your camera’s histogram can help you ensure you’re not clipping the highlights.
- HDR Photography: Consider using HDR (High Dynamic Range) photography by bracketing multiple exposures (one for the windows, one for the interior) and blending them in post-production. This allows you to retain detail in both the bright windows and darker interior spaces.
- Curtains or Blinds: If the light is too harsh, use curtains or blinds to reduce the brightness coming through the windows and control the overall exposure.
Pro Tip: Shoot during times of the day when the sunlight is not directly hitting the windows, such as early morning or late afternoon.
5. Not Taking Advantage of Reflectors
The Mistake: Many photographers overlook the power of reflectors when using natural light. Reflectors can be an easy and inexpensive way to bounce natural light into darker areas of a room, creating a more balanced exposure and reducing harsh shadows.
How to Fix It:
- Use a Reflector: A simple white or silver reflector can help bounce sunlight back into dark corners or onto key features of a room. This helps to fill in the shadows and provide more even lighting across the scene.
- DIY Reflectors: If you don’t have a professional reflector, you can use materials like white foam boards, reflective car shades, or even a large piece of white fabric to reflect light.
- Position the Reflector Carefully: Place the reflector at an angle where it captures the natural light and bounces it onto the areas that need more illumination, such as the interior of rooms or along walls.
Pro Tip: If you don’t have a reflector, you can also use walls, ceilings, or even light-colored furniture to bounce the light.
Conclusion
Natural light is an invaluable asset for real estate photographers, but it requires careful management to ensure that it enhances rather than detracts from your photos. By avoiding these common mistakes and following the fixes outlined above, you can make the most of natural light and create stunning, high-quality images that attract buyers and highlight a property’s best features.
With practice and attention to detail, you’ll be able to control and use natural light to your advantage, producing photos that are bright, balanced, and visually appealing. Remember, the key to mastering natural light in real estate photography is patience, observation, and a willingness to experiment.
Contact me for the best real estate photo editing service.


