10 Best Real Estate Photography Tips for First-Time Photographers
Real estate photography is a crucial element in modern property marketing. Whether you’re a realtor starting to take your own photos or an aspiring real estate photographer, mastering the basics can significantly impact your property listings. Here are ten essential tips to help you capture stunning real estate photos.
1. Invest in the Right Equipment

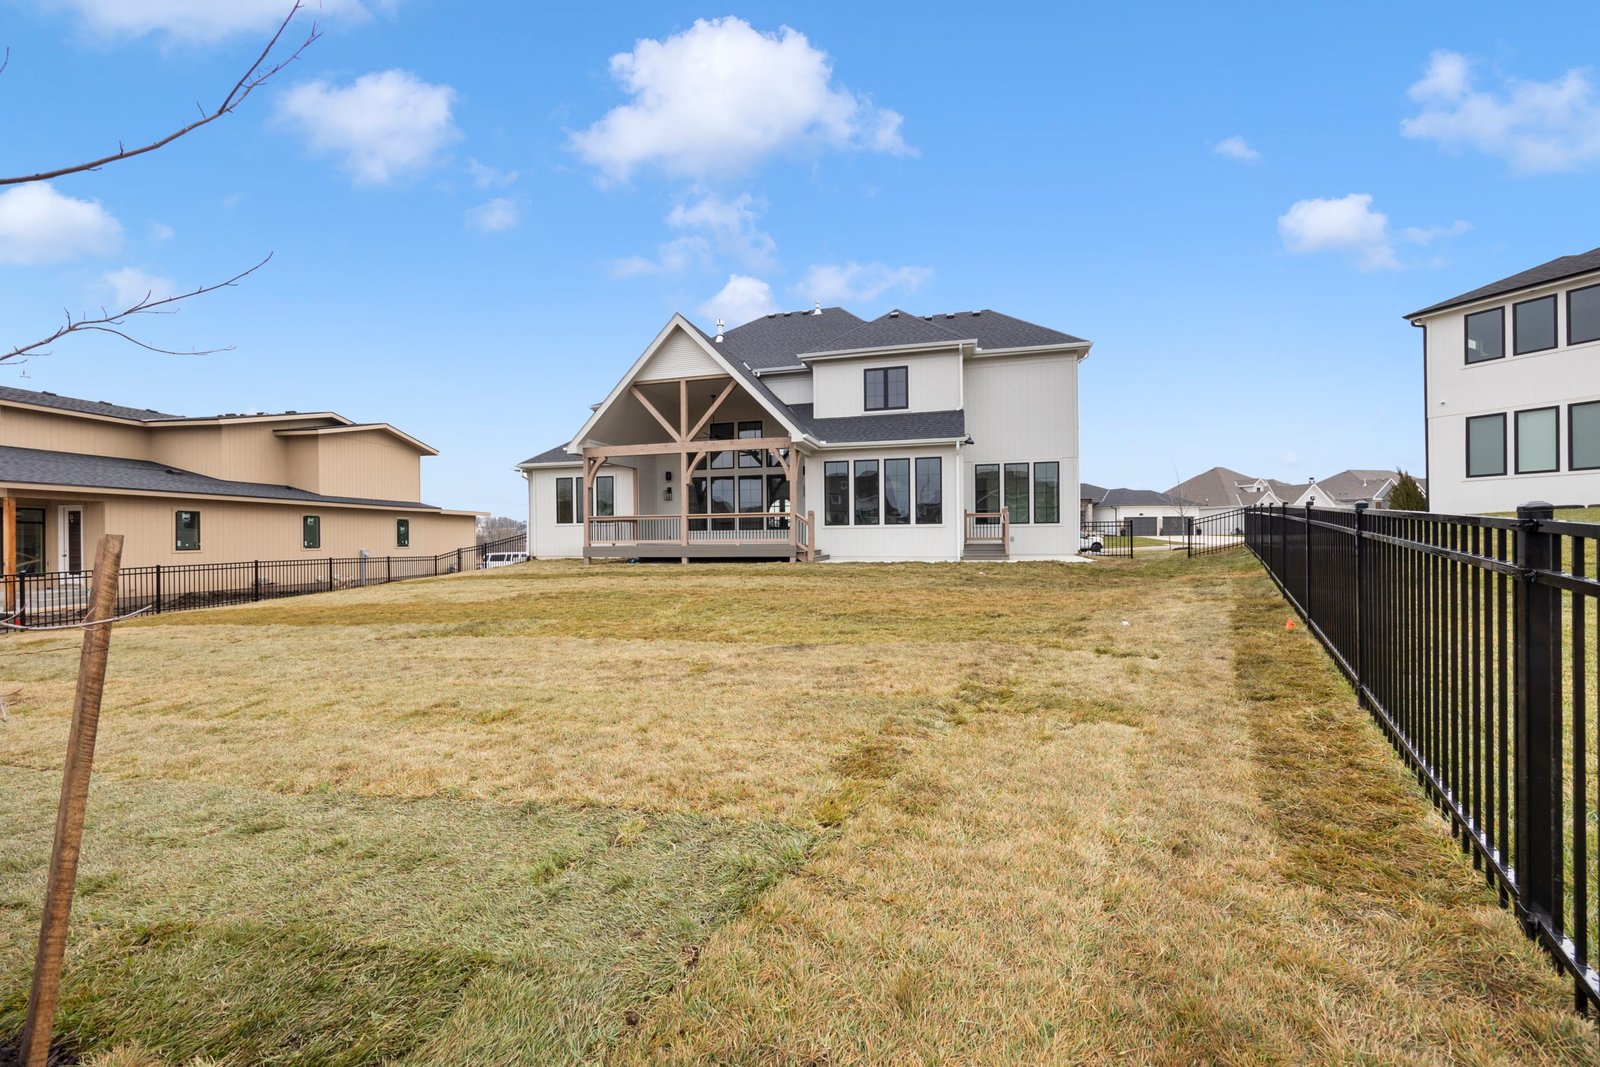
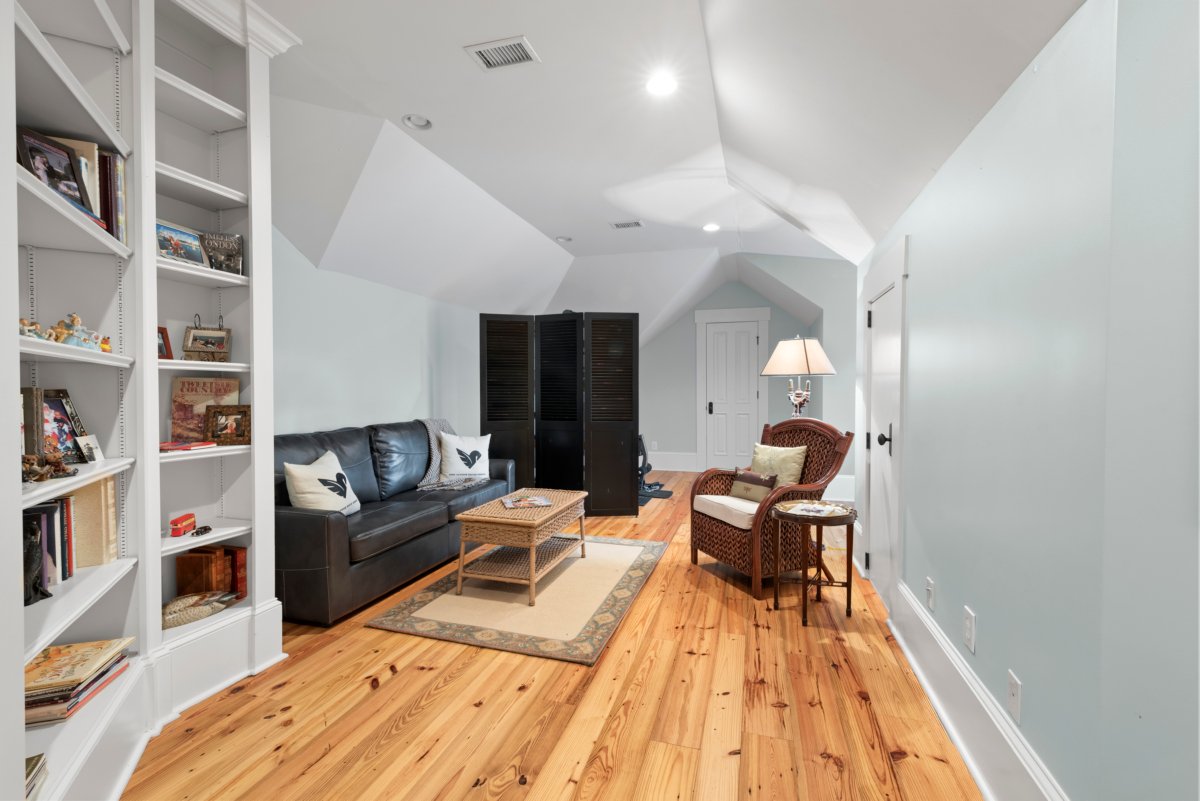
Real Estate Photography
While you don’t need the most expensive gear to start, certain equipment is essential:
- A DSLR or mirrorless camera with a wide-angle lens (16-35mm recommended)
- A sturdy tripod for stability and consistent shots
- External flash units for balanced lighting
- A remote trigger to avoid camera shake
Remember, it’s better to invest in quality lenses rather than spending all your budget on the camera body.
2. Master the Art of Composition
Proper composition can make or break your real estate photos:
- Shoot from corners to show the depth and size of rooms
- Keep vertical lines straight (no tilted walls)
- Position your camera at chest height (approximately 5 feet)
- Include three walls in your composition when possible
Avoid shooting straight into walls, as this makes spaces appear smaller and less inviting.
3. Perfect Your Lighting Technique
Lighting is perhaps the most critical aspect of real estate photography:
- Shoot during the golden hours for exterior shots (early morning or late afternoon)
- Turn on all interior lights to create warmth
- Use flash bouncing techniques to eliminate harsh shadows
- Balance interior and exterior lighting through window shots
Consider bracketing your exposures to combine multiple shots for perfect lighting balance.
4. Prepare the Property Properly
Before you start shooting, ensure the property is photo-ready:
- Remove personal items and clutter
- Clean all surfaces, windows, and mirrors
- Arrange furniture symmetrically
- Open curtains and blinds to let in natural light
A well-prepared property can save hours of post-processing work and result in more appealing photos.
5. Use HDR Photography Wisely
High Dynamic Range (HDR) photography can be powerful when used correctly:
- Take multiple exposures (usually 3-5 brackets)
- Keep the effect subtle and natural-looking
- Avoid over-processing that creates unrealistic results
- Use HDR primarily for rooms with bright windows or high contrast
Remember that the goal is to show the property as it actually appears, not create an artificial-looking image.
6. Focus on Important Spaces
Prioritize key areas that buyers are most interested in:
- Kitchen (showcase countertops, appliances, and layout)
- Master bedroom and bathroom
- Living room and other common areas
- Outdoor spaces and property frontage
Capture these spaces from multiple angles to provide a comprehensive view.
7. Master Your Camera Settings
Understanding your camera’s manual settings is crucial:
- Use aperture priority mode (typically f/8 to f/11 for interior shots)1
- Keep ISO as low as possible to minimize noise
- Use a timer or remote to avoid camera shake
- Enable your camera’s grid display for straight lines
Take time to experiment with different settings to find what works best in various situations.
8. Post-Processing Essentials

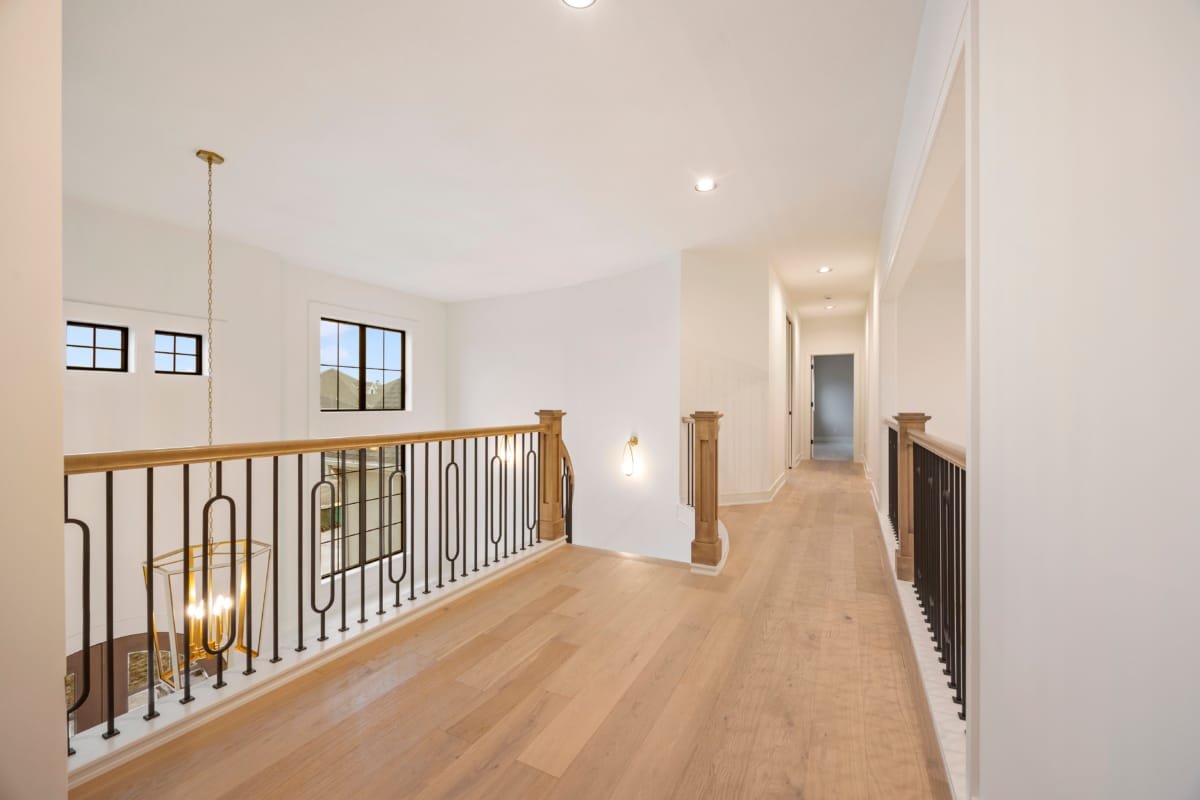
Real Estate Photography
Learn basic post-processing techniques to enhance your photos:
- Correct white balance for consistent color temperature
- Adjust exposure and contrast
- Remove minor imperfections and sensor spots
- Straighten vertical and horizontal lines
Keep editing subtle and natural – avoid over-processing that could mislead potential buyers.
9. Develop a Consistent Workflow
Establish a systematic approach to your photography:
- Create a shot list for each property
- Follow a logical progression through the space
- Maintain consistent camera settings when possible
- Develop a standard post-processing routine
A well-organized workflow will save time and ensure you don’t miss important shots.
10. Practice and Learn from Others
Continuous improvement is key to success:
- Study professional real estate photography
- Practice in your own home or friends’ houses
- Join real estate photography forums and groups
- Request feedback from experienced photographers
Remember that every professional started as a beginner, and consistent practice leads to improvement.
Advanced Techniques to Consider
Once you’ve mastered the basics, explore these advanced techniques:
- Virtual staging for empty properties
- Drone photography for aerial views
- 360-degree virtual tours
- Twilight photography for dramatic exterior shots
Common Mistakes to Avoid
Be aware of these frequent pitfalls:
- Using fisheye lenses that distort the space
- Capturing your own reflection in mirrors or windows
- Poor weather conditions for exterior shots
- Inconsistent white balance between rooms
Learning from these common mistakes will help you develop faster as a photographer.
Business Considerations
If you’re planning to make this a business:
- Develop a pricing structure based on market research
- Create a professional portfolio website
- Network with local real estate agents
- Consider liability insurance and business licenses
Building a successful real estate photography business requires both technical skills and business acumen.
Conclusion
Real estate photography requires a blend of technical skill, artistic vision, and attention to detail. By following these tips and continuously practicing, you’ll be well on your way to capturing professional-quality real estate photos. Remember that every property presents unique challenges and opportunities, so stay flexible and willing to adapt your approach as needed. With time and experience, you’ll develop your own style while maintaining the professional standards that real estate photography demands.
Contact me for the best real estate photo editing service.


